Table of Contents
Introduction
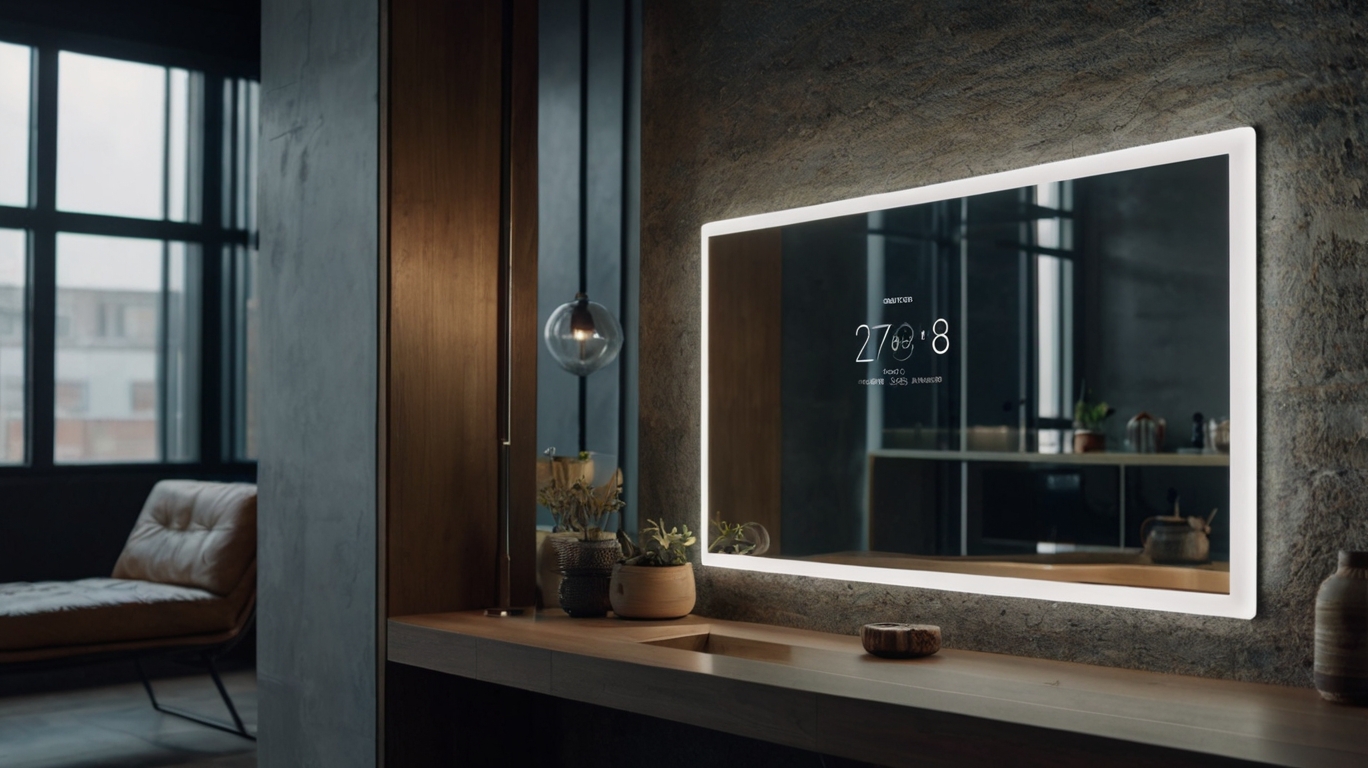
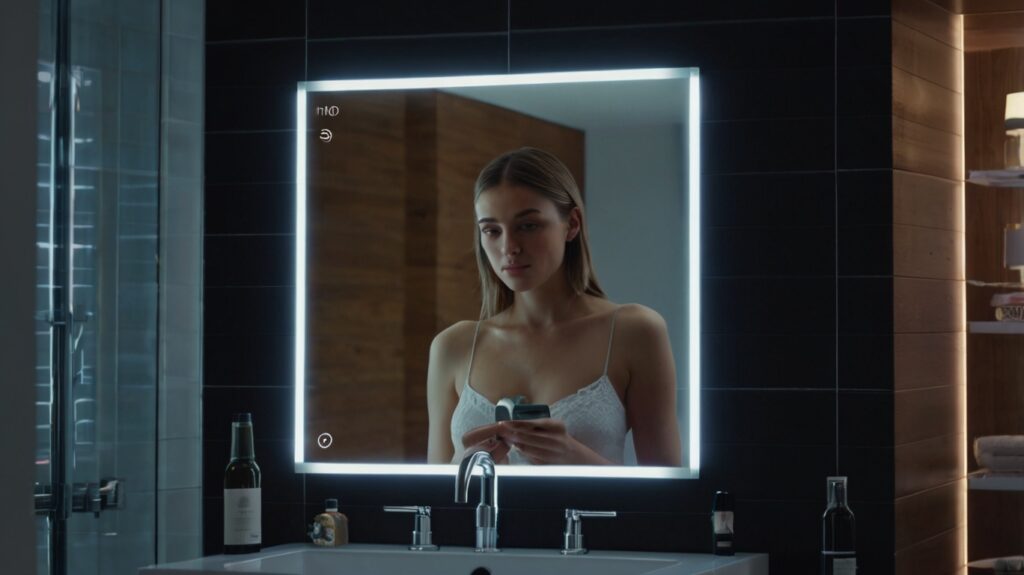
Imagine starting your day with a mirror that displays the weather, your calendar, and even the latest news as you brush your teeth. Sounds futuristic, right? Well, with a DIY smart mirror, this vision can become your reality. In this guide, we’ll walk you through every step to build a custom smart mirror that fits your style and needs. Let’s get started!
What is a Smart Mirror?
A smart mirror is essentially a two-way mirror with a digital display behind it. It functions like a regular mirror but adds a layer of interactivity by showing customizable information such as time, weather, calendar events, news updates, and even fitness metrics. Think of it as a practical combination of a mirror and a digital assistant, designed to make your daily routines more efficient and enjoyable.
Why Build One?
Building your own smart mirror is not only cost-effective but also allows you to personalize its features. You can tailor it to suit your specific needs and preferences, whether it’s for boosting productivity, tracking fitness goals, or integrating seamlessly with your smart home devices. Additionally, the sense of accomplishment from creating a functional piece of technology adds a unique personal value to your project.
Benefits of a DIY Approach
- Cost Savings: Pre-made smart mirrors can be expensive, often ranging into hundreds or even thousands of dollars, while DIY versions often cost a fraction of that amount. With careful planning, you can build one on a budget.
- Customization: With a DIY approach, you have full control over the features, size, and design of your smart mirror. Whether you prefer a sleek minimalist look or a feature-packed interface, the choice is entirely yours.
- Skill Building: Undertaking this project offers an excellent opportunity to learn and hone valuable skills in electronics, programming, and design. From assembling hardware to configuring software, each step enriches your knowledge and experience.
- Sustainability: Repurposing an old monitor or frame for your smart mirror project contributes to eco-friendly practices, giving new life to items that might otherwise go to waste.
Materials Needed
Here’s a list of what you’ll need to build your smart mirror:
| Material | Purpose |
|---|---|
| Two-way mirror | Acts as the reflective surface |
| Monitor | Displays the digital interface |
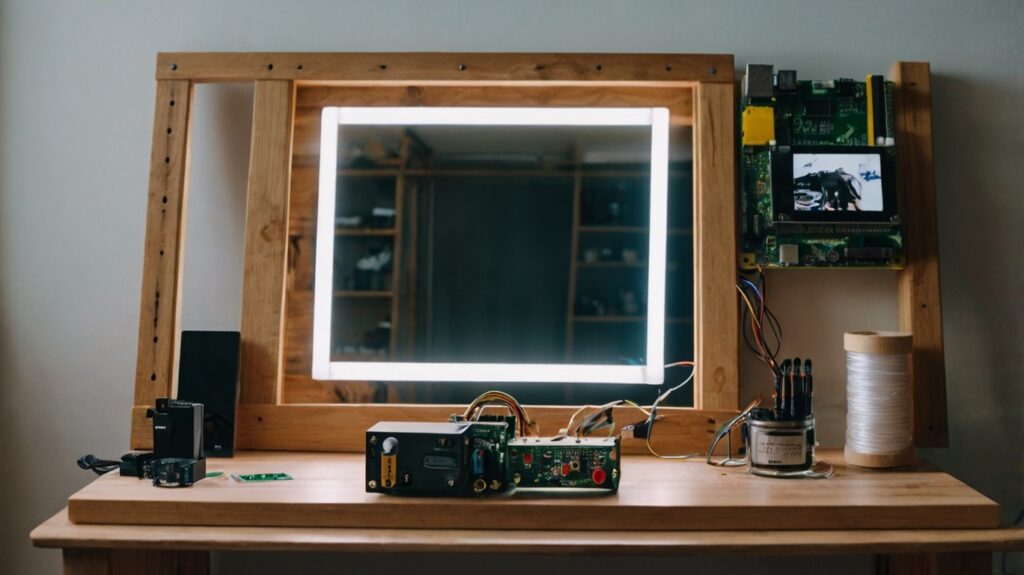
| Raspberry Pi | Runs the smart mirror software |
| Frame | Holds the components together |
| HDMI cable | Connects the Raspberry Pi to the monitor |
| Motion sensors (optional) | Adds motion detection capabilities |
| LED strips (optional) | Enhances lighting |
| Power supply | Powers the Raspberry Pi and monitor |
Step-by-Step Guide to Building a DIY Smart Mirror
Step 1: Plan the Features
Start by brainstorming the core functionalities you want your smart mirror to have. Do you need it to display the time, weather updates, and news headlines? Or would you like it to integrate with your smart home devices for added convenience? Decide if features like voice control, calendar reminders, or fitness tracking appeal to you. Sketch out the mirror’s dimensions, placement, and layout. A detailed plan will save time and reduce errors as you progress.
Step 2: Prepare the Frame
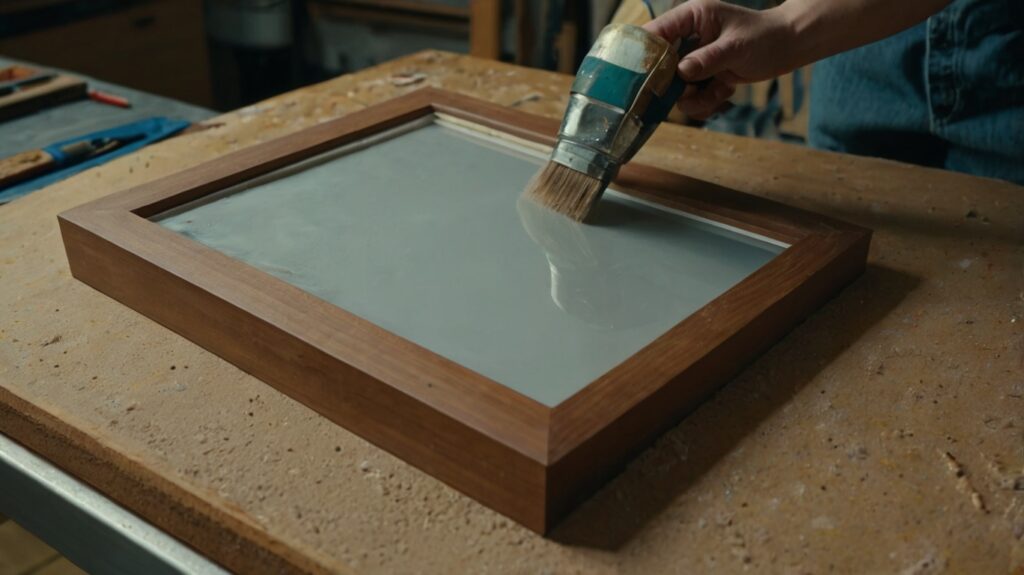
Choose a frame that complements your space—you can either build one from scratch or modify an old one. Ensure the frame’s dimensions match the monitor and two-way mirror. Sand, paint, or stain the frame to give it a polished look. Make sure it’s sturdy enough to house the components securely. Test-fit all parts within the frame before moving on to ensure a snug fit.
Step 3: Install the Monitor
Carefully mount the monitor inside the frame, ensuring it’s centered and secure. Remove any unnecessary parts, like the stand, to optimize space. Use brackets or adhesive strips to keep the monitor firmly in place. Double-check that the display surface aligns perfectly with the back of the two-way mirror for a seamless look.
Step 4: Attach the Two-Way Mirror
Position the two-way mirror in front of the monitor, ensuring that the reflective side faces outward. This allows the display to shine through the mirror while maintaining its reflective quality. Use adhesives or mounting clips to secure the mirror to the frame. Take your time to ensure there are no gaps or misalignments.
Step 5: Set Up Raspberry Pi and Software
- Start by installing an operating system, such as Raspberry Pi OS, on your Raspberry Pi.
- Download smart mirror software like MagicMirror, which offers various modules for customization.
- Configure the software to display widgets such as time, weather updates, news, and more.
- Connect the Raspberry Pi to the monitor via an HDMI cable, and ensure all software is updated for optimal performance.
Step 6: Add Optional Features
Take your smart mirror to the next level with optional enhancements:
- Motion Sensors: Add motion sensors to activate the display only when someone is nearby, conserving energy.
- LED Strips: Install LED strips around the frame for ambient lighting, which can be set to change colors or intensities.
- Speakers: Include small speakers to play music, notifications, or voice assistant responses.
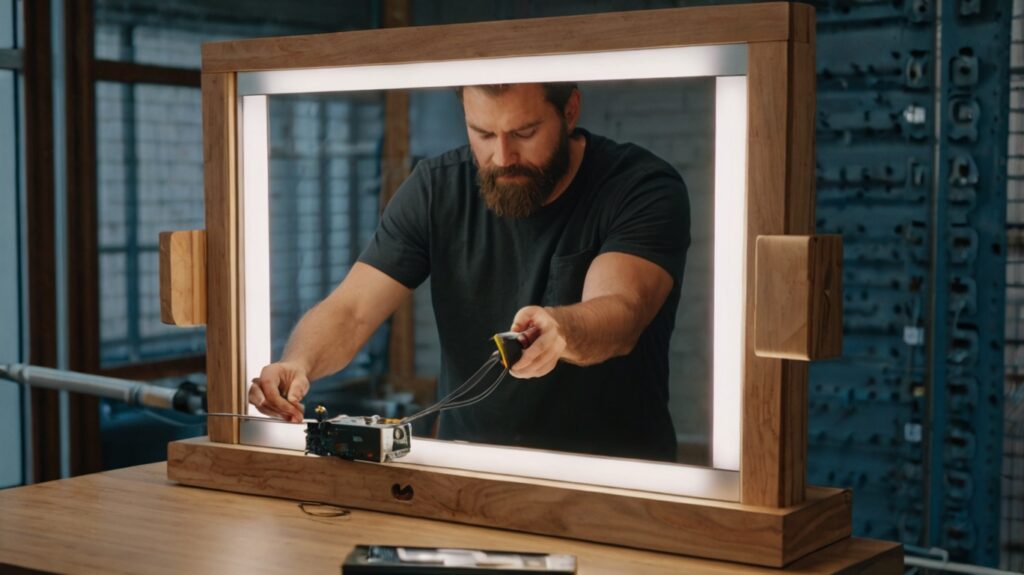
Step 7: Final Assembly and Cable Management
Assemble all the components within the frame carefully. Use cable clips or ties to organize and secure cables, keeping them hidden for a clean and professional finish. Make sure all connections are solid, and that no wires interfere with the placement of the monitor or mirror.
Step 8: Testing and Troubleshooting
Power on your smart mirror and test each feature to ensure it works as intended. Check the display’s brightness, alignment, and responsiveness. Troubleshoot any issues with software configurations or hardware connections. If the display looks dim, adjust the monitor’s brightness settings or reposition the mirror slightly for better visibility. Address any glitches promptly to finalize your smart mirror.
Customizing Your Smart Mirror
Adding Voice Control and Smart Home Integration
Expand the functionality of your smart mirror by integrating it with platforms like Google Assistant, Alexa, or other smart home ecosystems. This will allow you to control various features using voice commands, such as turning lights on and off, adjusting the thermostat, or accessing your calendar hands-free. With voice control, you can interact with your smart mirror more naturally, making it a seamless part of your daily routine.
Moreover, by connecting it to your smart home devices, you can transform your mirror into a centralized hub for managing your home. Imagine asking your mirror to show the weather forecast, lock the doors, or even start your morning playlist—all with a simple voice command. This integration elevates convenience and adds a futuristic touch to your living space.
Personalizing the Interface
Enhance the usability and aesthetic appeal of your smart mirror by customizing the interface. Tailor the display to suit your preferences by adding:
- Personalized Widgets: Incorporate elements like motivational quotes, daily affirmations, fitness goals, or reminders that align with your lifestyle. For instance, if you’re a fitness enthusiast, add a widget to track your steps or calories burned. If you’re a productivity seeker, display your to-do list or calendar.
- Themes and Fonts: Choose themes and fonts that match your home decor or personal style. Opt for minimalist designs for a modern look or colorful layouts for a more vibrant display. Adjust font sizes and colors to improve readability and enhance the user experience.
- Custom Backgrounds: Add a personal touch by using family photos, scenic wallpapers, or dynamic visuals as the backdrop for your mirror’s display.
Experiment with various customization options to make the mirror truly yours. These personal touches ensure that the smart mirror reflects not only your image but also your personality and daily needs.
Smart Mirror DIY Resources
Here are some helpful resources to assist you in your project:
| Resource | Link |
| MagicMirror² Official Documentation | magicmirror.builders |
| Raspberry Pi Tutorials | raspberrypi.org |
| Two-Way Mirror Suppliers | twowaymirrors.com |
| DIY Video Guides | YouTube |
Conclusion
Congratulations! You’ve built your very own smart mirror. Not only does it add a modern touch to your home, but it also offers a practical way to stay organized and informed. Ready to take it further? Experiment with new features and let your creativity shine!
FAQs
How much does it cost to build a DIY smart mirror?
The cost can range from $100 to $300, depending on the components and features you choose.
Do I need programming skills to build a smart mirror?
Basic programming knowledge helps, especially for configuring the Raspberry Pi and software, but many guides simplify the process for beginners.
Can I use any monitor for my smart mirror?
Yes, as long as it fits the frame and has an HDMI input to connect with the Raspberry Pi.
What software works best for smart mirrors?
MagicMirror is a popular and versatile open-source software with plenty of modules and community support.
How can I ensure my smart mirror is energy-efficient?
Use features like motion sensors to turn the display on only when someone is nearby, and choose energy-efficient components like LED backlights.