Also Read: The Definitive Guide to Automating Repetitive Tasks with Python Scripts
Table of Contents
Intrusive advertisements, pervasive trackers, and unwanted content have become ubiquitous in our digital environment. Envision a robust solution that eradicates these annoyances comprehensively across all devices within your network. Introducing Pi-Hole—a highly effective, network-wide ad-blocking mechanism. This guide is designed to provide you with a detailed understanding and step-by-step methodology for deploying and optimizing Pi-Hole to achieve maximum efficiency.
Understanding Pi-Hole

Pi-Hole functions as an open-source DNS sinkhole capable of blocking advertisements, trackers, and malicious domains at the network level. By serving as the primary DNS server for your network, Pi-Hole intercepts and filters DNS queries, effectively eliminating unwanted content before it reaches connected devices. This preemptive approach enhances security and performance, offering users a seamless, ad-free browsing experience across smartphones, tablets, smart TVs, and IoT devices. Beyond its fundamental ad-blocking functionality, Pi-Hole provides an advanced monitoring and analytics interface, enabling users to scrutinize network activity, analyze blocked queries, and fine-tune configurations for precise control and improved privacy.
Why Choose Pi-Hole?
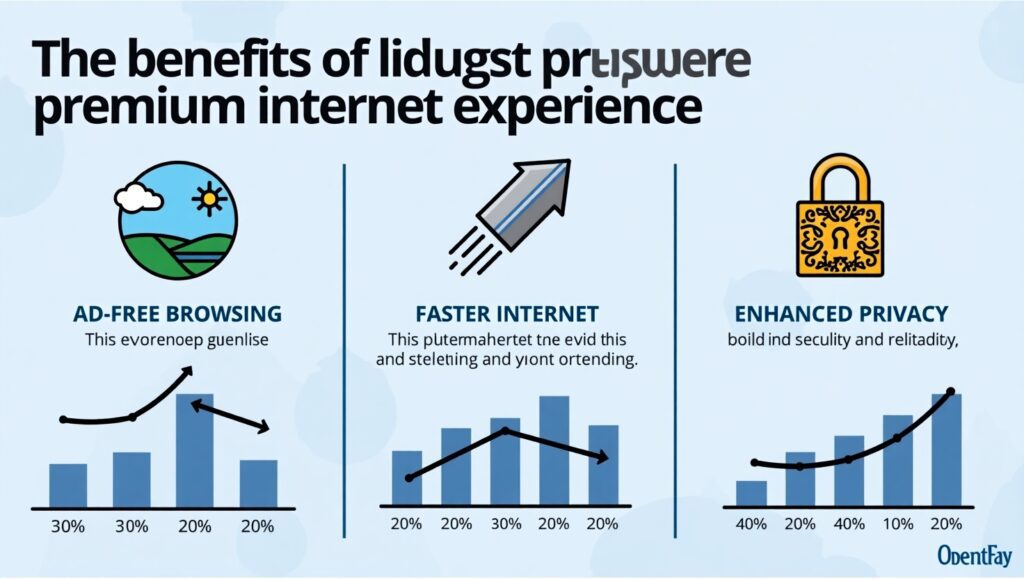
- Ad-Free Browsing: Achieve comprehensive ad-blocking for all devices connected to your network, enabling uninterrupted access to digital content and enhancing the overall browsing experience.
- Enhanced Privacy: Shield your personal data by intercepting and nullifying tracking scripts and intrusive cookies, thus safeguarding your online behavior from third-party monitoring.
- Optimized Speed: Accelerate webpage loading times by filtering unnecessary ad-related content, thereby optimizing bandwidth utilization and reducing latency.
- Comprehensive Network Protection: Uniformly apply robust ad-blocking measures across all network devices, including those with limited native ad-blocking capabilities, such as smart home devices.
Prerequisites for Setting Up Pi-Hole

| Requirement | Description |
|---|---|
| Hardware | Raspberry Pi (any model, such as Raspberry Pi Zero W or Raspberry Pi 4). |
| Storage | A 32GB Micro SD Card for OS and data storage. |
| Power Supply | A power adapter compatible with your Raspberry Pi model. |
| Network | Active internet connection to download necessary software and updates. |
Step-by-Step Installation Guide
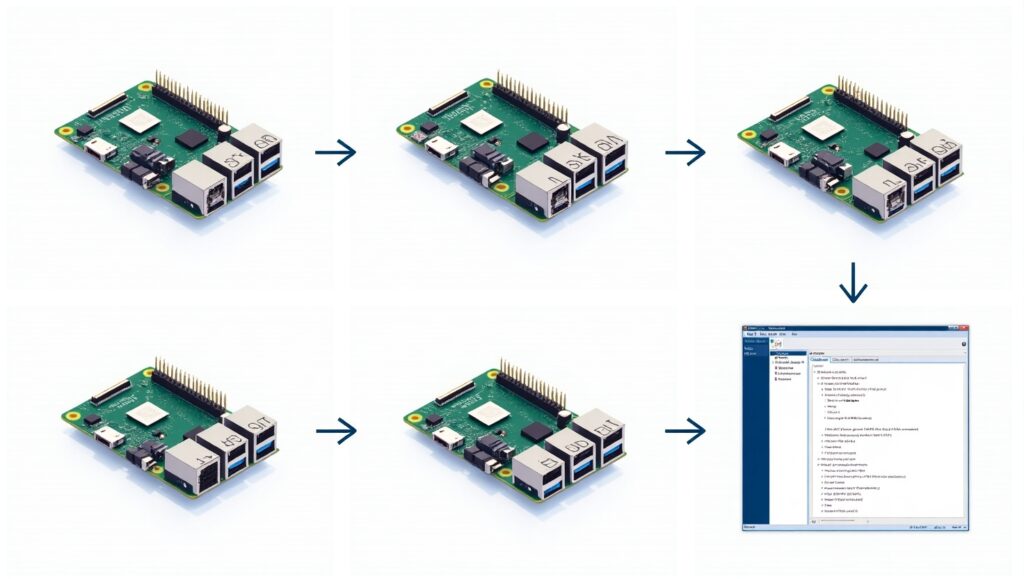
1. Prepare Your Raspberry Pi
- Download and install the Raspberry Pi Imager tool on your computer.
- Select the appropriate Raspberry Pi OS version to ensure compatibility with your device.
- Flash the chosen OS onto a Micro SD card using the imager tool.
- Safely eject the SD card and insert it into your Raspberry Pi.
2. Set Up and Boot
- Connect your Raspberry Pi to a power source and to your network (via Wi-Fi or Ethernet).
- Power on the device and wait for the initial setup screen to appear.
- Access the Raspberry Pi’s user interface, either through a connected monitor and keyboard or via SSH from another device.
3. Assign a Static IP Address
- Reserve a specific IP address for your Raspberry Pi within your router’s DHCP settings.
- Alternatively, modify the
dhcpcd.conffile on the Raspberry Pi to establish a static IP:sudo nano /etc/dhcpcd.confAdd the desired static IP configuration for seamless integration into your network.
4. Install Pi-Hole
- Update your Raspberry Pi’s software repositories:
sudo apt update && sudo apt upgrade -y - Install Pi-Hole using the automated installer:
curl -sSL https://install.pi-hole.net | bash - Follow the comprehensive installation wizard to:
- Select a DNS provider (e.g., Cloudflare, Google).
- Enable additional features such as a web-based management interface.
- Configure logging preferences to monitor network activity and blocked queries.
5. Configure Your Network
- Access your router’s DNS settings to direct queries to the static IP of your Raspberry Pi.
- Optionally, enable Pi-Hole as the DHCP server to streamline network management and eliminate conflicts.
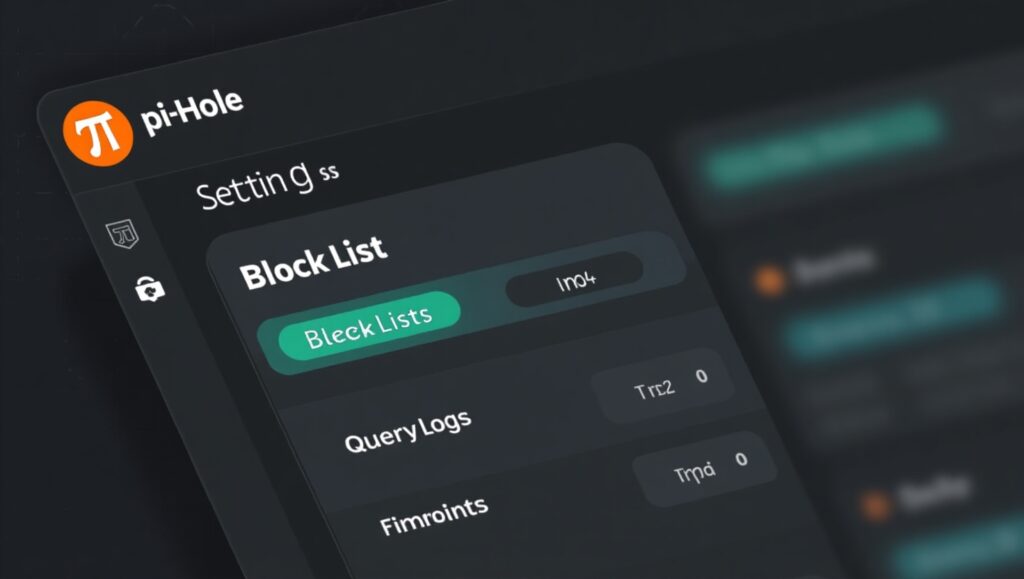
6. Access the Web Interface
- Navigate to the Pi-Hole dashboard at:
http://<your_pi_hole_ip>/admin - Log in using the installation-generated password or a custom password you set.
- Utilize the interface to oversee network activity, adjust blocklists, and optimize system settings.
Advanced Configurations
Enhancing Ad Blocking with Block Lists
- Leverage the Pi-Hole dashboard to access the Group Management > Adlists section.
- Incorporate additional block lists by sourcing URLs from the Pi-Hole community or other trusted repositories.
- Update the gravity database to activate newly added block lists.
Enforcing DNS Rules
- Implement firewall rules to ensure all DNS traffic is routed through the Pi-Hole’s IP.
- Restrict external DNS queries by blocking ports 53 and 853, preventing circumvention of Pi-Hole’s filtering.
- Employ conditional forwarding to facilitate local network name resolution.
Monitoring and Optimization
- Regularly review the Query Log for insights into blocked domains and potential whitelist requirements.
- Refine the whitelist and blacklist entries based on specific needs and network behavior.
- Use advanced metrics like top blocked domains and client-specific queries to fine-tune system performance.
Conclusion

Pi-Hole is not merely an ad blocker but a comprehensive tool for enhancing network security and user experience. By following this guide, you can transform your home network into a bastion of privacy and efficiency, achieving a seamless and ad-free digital environment for all users.