Arduino programming represents a sophisticated entry point into the realms of electronics and embedded systems development. For both the aspiring hobbyist and the novice engineer, this comprehensive guide elucidates the methodologies essential for programming an Arduino, integrating foundational concepts with actionable strategies.
Table of Contents
Introduction to Program Your First Arduino
The Arduino platform, an emblem of open-source innovation, is widely celebrated for its versatility in creating electronics projects. At its core, Arduino integrates a programmable microcontroller with an accessible software ecosystem. Mastery of Arduino programming can catalyze advancements in domains such as automation, robotics, and the Internet of Things (IoT). This tutorial delineates the process of configuring the Arduino environment and crafting an inaugural program, equipping readers with the competencies to navigate more intricate endeavors.
Also Read: How to Code Arduino for Multitasking: A Complete Guide
Setting Up Your Arduino Environment
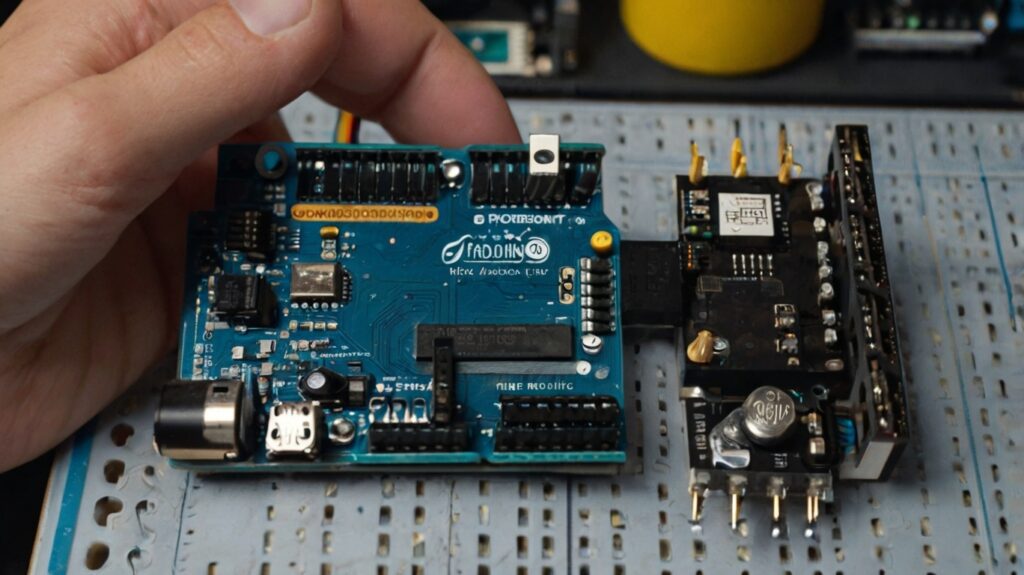
Establishing a functional Arduino workspace necessitates a meticulous approach to hardware and software configuration. Follow these steps to ensure seamless integration:
Step 1: Download and Install the Arduino IDE
The Arduino Integrated Development Environment (IDE) is the principal interface for code development and deployment. To commence:
- Access the official Arduino website to download the IDE version compatible with your operating system (Windows, macOS, or Linux).
- Execute the installation process, adhering to prompts that configure essential components. Confirm the inclusion of drivers if prompted.
- Post-installation, launch the IDE to verify operational integrity. You may encounter requests for permissions to access network resources, which facilitate updates and library integrations.
Step 2: Install Drivers (if Necessary)
- For authentic Arduino boards, requisite drivers are typically embedded within the IDE package, streamlining installation.
- Conversely, third-party or clone boards often necessitate the manual acquisition of drivers, available via the manufacturer’s repository. Ensure compatibility with your operating system and Arduino model.
- Installation protocols generally involve executing a setup utility and verifying connectivity through the IDE.
Step 3: Connect Your Arduino
- Employ a USB data cable to interface your Arduino board with a computer. It is imperative to utilize a cable that supports data transfer, as charging-only cables are incompatible.
- Launch the Arduino IDE, which should automatically detect the connected hardware. If undetected, reassess the cable connection and USB port functionality.
Step 4: Select Your Board and Port
- Navigate to Tools > Board within the IDE and select the specific Arduino model (e.g., Arduino Uno) in use. This ensures the IDE configures parameters appropriate for the selected hardware.
- Under Tools > Port, designate the COM port corresponding to your device. Identifying the correct port may require disconnecting and reconnecting the Arduino to observe changes in the port list.
- Verifying both board and port settings is critical to circumvent errors during code upload.
Writing Your First Program
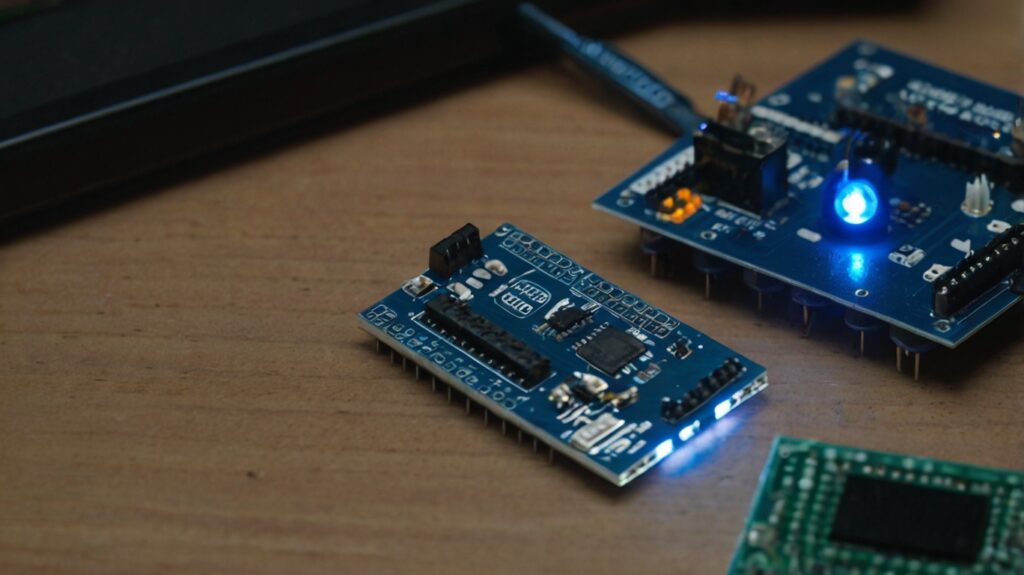
Arduino sketches, the nomenclature for its programs, adhere to a structure predicated on two pivotal functions:
setup(): Executes once upon initialization, configuring pin modes and variables.loop(): Iteratively executes post-setup, embodying the program’s core logic.
Example: Blinking an LED
A quintessential Arduino exercise involves programming an LED to blink, utilizing the built-in LED connected to pin 13 on most boards.
void setup() {
  pinMode(13, OUTPUT); // Configure pin 13 as an output
}

void loop() {
  digitalWrite(13, HIGH); // Illuminate the LED
  delay(1000);            // Pause for one second
  digitalWrite(13, LOW);  // Extinguish the LED
  delay(1000);            // Pause for one second
}
Code Analysis
pinMode(13, OUTPUT);: Initializes pin 13 for output operations.digitalWrite(13, HIGH);: Activates the pin, supplying voltage to the LED.delay(1000);: Introduces a temporal delay of 1000 milliseconds, facilitating a one-second pause.digitalWrite(13, LOW);: Deactivates the pin, ceasing current flow to the LED.
Uploading Your Code
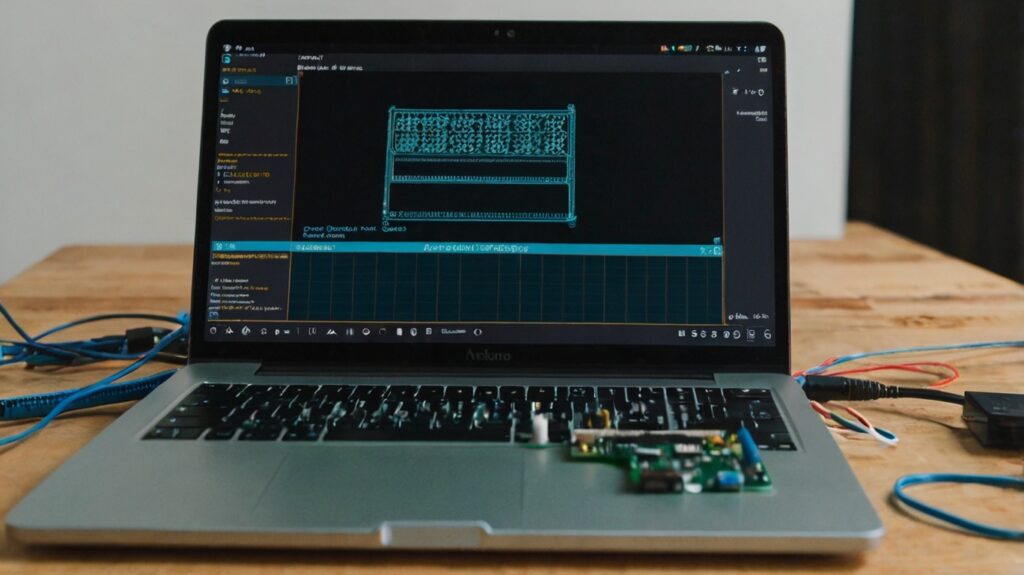
- Compile Your Sketch:
- Utilize the checkmark icon within the IDE to compile your sketch, verifying syntax and dependencies. Compilation ensures that your code is syntactically correct and that all necessary libraries are properly linked. It is a critical step to avoid runtime errors.
- During compilation, the IDE generates a binary file from your sketch, which is subsequently uploaded to the Arduino board. Pay attention to any warnings or errors displayed in the console, as these can provide insight into potential issues.
- Upload Your Sketch:
- Deploy the sketch to your Arduino board by clicking the right arrow icon. Ensure successful compilation precedes this step to prevent upload failures. The IDE communicates with the board via the selected COM port, transferring the compiled binary.
- Observe the progress bar in the IDE, which indicates the upload status. If the upload fails, the IDE will display an error message, often related to port configuration or connection issues.
- Some boards may require a manual reset during the upload process. If your board has a reset button, press it when prompted by the IDE.
- Observe the Result:
- Upon successful upload, the onboard LED should blink at one-second intervals, affirming correct execution. This behavior confirms that the microcontroller has received and is executing the uploaded program.
- If the LED does not blink, revisit the sketch and verify the code logic, pin assignments, and hardware connections. Experiment with adjusting the delay intervals or adding print statements to debug the program.
Troubleshooting Common Issues
- Issue: The IDE fails to recognize the Arduino board.
- Resolution: Inspect USB connections, verify board selection, and ensure correct port assignment.
- Issue: Compilation errors.
- Resolution: Scrutinize the sketch for syntactical inaccuracies and confirm requisite libraries are installed.
- Issue: LED remains unresponsive.
- Resolution: Validate pin assignments, confirm adequate power supply, and reassess the board’s operational state.
Exploring Advanced Projects

Progressing beyond foundational exercises, Arduino facilitates the development of intricate systems that integrate various hardware and software elements. Potential projects include:
- Environmental Monitoring: Employ temperature and humidity sensors to construct a climate data logger. Extend this by integrating additional sensors for air quality or soil moisture, creating a comprehensive environmental monitoring system for agriculture or urban settings.
- Actuator Control: Utilize servo motors for precision movement in robotics applications. Expand this concept by incorporating multiple actuators to build robotic arms, automated conveyor belts, or even autonomous vehicles capable of navigating predefined paths.
- Integrated Systems: Combine multiple components to create an autonomous robot or IoT-enabled device. For instance, a smart home system could integrate motion sensors, cameras, and actuators to enhance security. Alternatively, a health monitoring device could amalgamate pulse sensors and accelerometers to track fitness metrics in real-time.
- Data Logging and Visualization: Develop systems that not only collect data but also present it visually. By incorporating an LCD screen or connecting to a web dashboard, users can monitor real-time changes, such as temperature fluctuations or motor speeds, enhancing interactivity and usability.
- Energy Management Systems: Design solutions for renewable energy applications. For example, use Arduino to control solar panels’ orientation based on sunlight intensity or to monitor energy consumption in a household, optimizing efficiency and reducing waste.
FAQs
What is the Arduino IDE?
The Arduino IDE serves as the primary interface for writing, debugging, and uploading code to Arduino boards. It supports languages such as C++ and integrates seamlessly with hardware.
Is programming knowledge essential for Arduino?
While prior programming experience is advantageous, Arduino’s robust documentation and community support render it accessible to novices.
Are non-official Arduino boards compatible?
Yes, third-party boards are supported, though they may require additional configuration, such as driver installation.
What beginner projects are recommended?
Simple projects like LED control, sensor data acquisition, and basic alarms provide an excellent starting point.
Can Arduino be used in industrial applications?
Arduino excels in prototyping but may be supplanted by industrial-grade microcontrollers for production environments.
Conclusion
Embarking on Arduino programming signifies an inaugural step into the expansive field of embedded systems. This guide has provided a comprehensive foundation for configuring your environment and executing your first program. Continued exploration and experimentation will unlock Arduino’s full potential, paving the way for innovation in both personal and professional endeavors.


