Table of Contents
Introduction
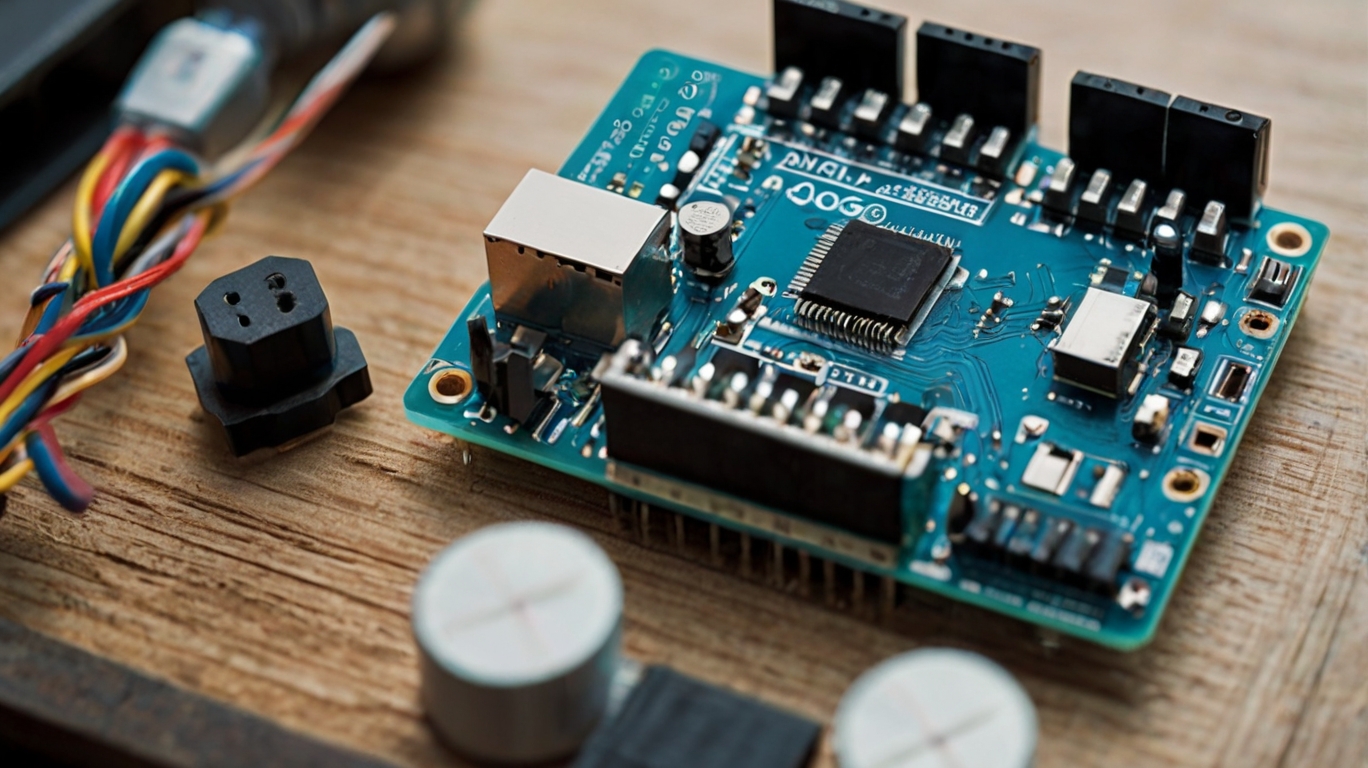
Multitasking is a fundamental concept in programming that allows a system to handle multiple tasks concurrently. When working with Arduino, effective multitasking is crucial for creating dynamic projects that require handling multiple operations, such as reading sensor data while controlling an LED or motor.
However, Arduino for Multitasking can be challenging due to its limited resources. This guide will walk you through various Arduino multitasking techniques to help you build efficient and robust projects.
Also Read: How to Build a Gesture-Controlled Robot: A Step-by-Step Guide
Challenges of Multitasking on Arduino
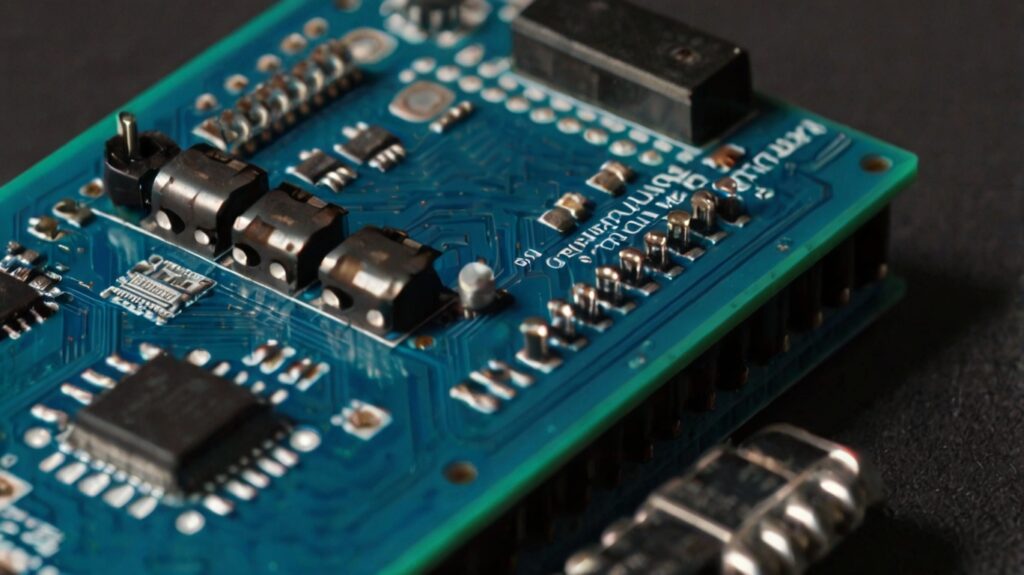
Limitations of the Arduino Architecture
Arduino boards, especially the classic models like the Uno, have limited processing power and memory. They lack native multitasking capabilities like threads found in advanced microcontrollers or computers. Instead, multitasking must be achieved through careful programming techniques.
Common Pitfalls in Arduino Multitasking
- Blocking Calls: Functions like
delay()halt the execution of the entire program, making multitasking impossible. This means that while one task is in progress, no other task can proceed, leading to inefficiency in handling multiple operations simultaneously.- Example: If a
delay(1000)is used to wait for 1 second, it pauses all other operations, such as sensor readings or communication processes, making the program unresponsive during this period. - Solution: Replace
delay()with non-blocking alternatives likemillis()for better time management and task concurrency.
- Example: If a
- Resource Conflicts: Improper handling of shared resources like timers or pins can cause unexpected behavior. For instance, if two tasks attempt to access the same pin or timer without proper synchronization, it can lead to erratic outputs or conflicts that disrupt the system’s functionality.
- Avoidance Strategies: Use dedicated resources for critical tasks and implement flags or state variables to prevent conflicts. Additionally, careful planning and modular design can help in resource allocation.
- Complexity: Managing multiple tasks in a single-threaded environment can lead to code that is difficult to debug and maintain. As the number of tasks grows, the interactions between them become harder to predict and control, increasing the risk of errors and inefficiencies.
- Impact: Debugging such code can be time-consuming as issues in one task might affect others in unpredictable ways, especially in systems where timing is critical.
- Mitigation: Break down tasks into smaller, manageable modules and test each individually before integrating them into the main program.
Key Multitasking Techniques
Avoiding Blocking Calls with millis()

The millis() function provides a non-blocking way to measure time, enabling tasks to run concurrently. For example:
unsigned long previousMillis = 0;
const long interval = 1000; // 1 second

void setup() {
  pinMode(LED_BUILTIN, OUTPUT);
}

void loop() {
  unsigned long currentMillis = millis();

  if (currentMillis - previousMillis >= interval) {
    previousMillis = currentMillis;
    digitalWrite(LED_BUILTIN, !digitalRead(LED_BUILTIN));
  }
}
Using State Machines for Task Management
State machines break complex tasks into manageable states. Each state represents a specific action, simplifying multitasking.
Example structure:
| State | Action |
|---|---|
| INIT | Initialize components. |
| READ_SENSOR | Read sensor data. |
| PROCESS_DATA | Analyze the data. |
| OUTPUT | Control output devices. |
Modularizing Tasks into Functions
Divide your code into modular functions for each task, making it easier to manage and debug. For instance:
void readSensor();
void controlLED();
void logData();

void loop() {
  readSensor();
  controlLED();
  logData();
}
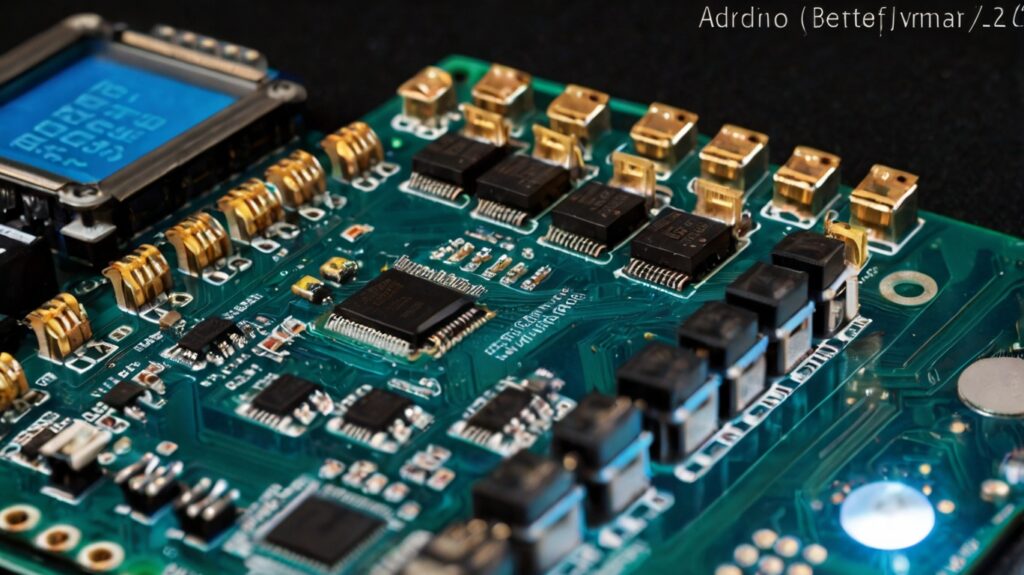
Advanced Multitasking Methods
Implementing Interrupts for Time-Sensitive Tasks
Interrupts allow the Arduino to respond immediately to specific events, such as a button press or timer overflow.
void setup() {
  pinMode(2, INPUT_PULLUP);
  attachInterrupt(digitalPinToInterrupt(2), handleInterrupt, FALLING);
}

void handleInterrupt() {
  // Handle the interrupt
}
Using Task Schedulers
Task scheduler libraries, such as TaskScheduler or SimpleScheduler, provide structured multitasking.
Example with SimpleScheduler:
#include <TaskScheduler.h>

Scheduler scheduler;

void task1() { /* Task 1 code */ }
void task2() { /* Task 2 code */ }

Task t1(1000, TASK_FOREVER, &task1);
Task t2(500, TASK_FOREVER, &task2);

void setup() {
  scheduler.init();
  scheduler.addTask(t1);
  scheduler.addTask(t2);
  t1.enable();
  t2.enable();
}

void loop() {
  scheduler.execute();
}
Exploring FreeRTOS
FreeRTOS is a professional-grade real-time operating system that enables preemptive multitasking on Arduino.
Example:
#include <Arduino_FreeRTOS.h>

void TaskBlink(void *pvParameters);
void TaskReadSensor(void *pvParameters);

void setup() {
  xTaskCreate(TaskBlink, "Blink", 128, NULL, 1, NULL);
  xTaskCreate(TaskReadSensor, "Sensor", 128, NULL, 1, NULL);
  vTaskStartScheduler();
}

void TaskBlink(void *pvParameters) {
  while (1) {
    digitalWrite(LED_BUILTIN, HIGH);
    vTaskDelay(500 / portTICK_PERIOD_MS);
    digitalWrite(LED_BUILTIN, LOW);
    vTaskDelay(500 / portTICK_PERIOD_MS);
  }
}

void TaskReadSensor(void *pvParameters) {
  while (1) {
    // Read sensor data
    vTaskDelay(100 / portTICK_PERIOD_MS);
  }
}
Step-by-Step Example
Objective: Blink an LED and read a temperature sensor simultaneously.
#include <DHT.h>

#define DHTPIN 2
#define DHTTYPE DHT11

DHT dht(DHTPIN, DHTTYPE);
unsigned long previousMillis = 0;
const long interval = 1000;

void setup() {
  pinMode(LED_BUILTIN, OUTPUT);
  dht.begin();
  Serial.begin(9600);
}

void loop() {
  unsigned long currentMillis = millis();

  // Blink LED
  if (currentMillis - previousMillis >= interval) {
    previousMillis = currentMillis;
    digitalWrite(LED_BUILTIN, !digitalRead(LED_BUILTIN));
  }

  // Read sensor data
  float temp = dht.readTemperature();
  if (!isnan(temp)) {
    Serial.println(temp);
  }
}
Best Practices for Arduino Multitasking
- Write Clean Code: Use descriptive variable names and modular functions to ensure the program is easy to understand and maintain. Descriptive variable names clarify the role of each variable, while modular functions help isolate tasks and make debugging straightforward. For instance, instead of naming a variable
x, use a meaningful name likeledBlinkIntervalto convey its purpose clearly. Similarly, encapsulating specific tasks such as reading a sensor or controlling an LED in separate functions enhances code readability. - Avoid Nested Logic: Simplify your code to make debugging easier by breaking down complex nested logic into manageable blocks. Deeply nested
iforwhilestatements can quickly become hard to follow, increasing the likelihood of bugs. Use flags or state variables to replace nested structures with simpler, linear code flows. For example, instead of using nested conditions to check sensor status and LED state, assign separate flags for each and process them sequentially in the main loop. - Test Incrementally: Validate each task before integrating it into the main program. This approach minimizes the complexity of debugging by isolating issues to individual tasks. For example, if your project involves blinking an LED and reading a sensor, test these tasks independently before combining them. Once verified separately, integrating them into the main code becomes smoother, and any errors can be pinpointed more efficiently.
- Use Debugging Tools: Leverage the Serial Monitor for real-time debugging and monitoring. The Serial Monitor allows you to print variable values and execution flow, helping you identify issues quickly. For example, if a sensor reading is incorrect, you can print the raw data to the Serial Monitor to determine whether the issue lies in the sensor or the processing code. Additionally, advanced debugging tools like logic analyzers or oscilloscopes can provide insights into hardware-level interactions, further aiding in troubleshooting complex multitasking scenarios.
- Document Your Code: Write detailed comments and documentation to describe the purpose of each function, variable, and block of code. This practice not only helps you recall the code’s functionality later but also assists others in understanding and maintaining your program. For instance, add comments explaining the logic behind a particular timer calculation or the role of a specific state in a state machine. Well-documented code is an invaluable asset, especially for larger projects or collaborative development.
- Optimize Resource Usage: Be mindful of memory and CPU constraints when implementing multitasking. Use lightweight data structures and efficient algorithms to ensure your code runs smoothly on Arduino’s limited hardware. For example, use arrays instead of dynamic data structures where possible, and avoid redundant calculations within loops to save processing power. Profiling your code to identify bottlenecks can also help optimize resource utilization effectively.
Conclusion
Mastering Arduino multitasking techniques unlocks the potential to build complex, responsive projects. From non-blocking programming with millis() to leveraging advanced tools like FreeRTOS, the possibilities are endless. Start experimenting with these techniques and take your Arduino projects to the next level!
FAQs
What is the best way to avoid blocking calls in Arduino programming?
Using the millis() function instead of delay() is the best way to avoid blocking calls. It enables non-blocking programming and allows multiple tasks to run concurrently.
Can I use FreeRTOS on all Arduino boards?
FreeRTOS is supported on most Arduino boards with sufficient memory and processing power. Boards like the Arduino Mega and Arduino Due are better suited for FreeRTOS than smaller boards like the Uno.
What are the common pitfalls in Arduino multitasking?
The most common pitfalls include using blocking functions like delay(), improper handling of shared resources, and creating overly complex code that is difficult to debug and maintain.
How do interrupts help in multitasking?
Interrupts allow the Arduino to respond immediately to high-priority events, such as a button press, without waiting for the main loop to execute the corresponding code.
Are task schedulers necessary for Arduino multitasking?
Task schedulers are not strictly necessary but can simplify the management of multiple tasks. They provide a structured way to schedule and execute tasks, making the code easier to manage and debug.


[…] Also Read: How to Code Arduino for Multitasking: A Complete Guide […]
[…] Also Read: How to Code Arduino for Multitasking: A Complete Guide […]