Table of Contents
Building your own PC can save you up to 30% compared to buying a pre-built system. 🤔
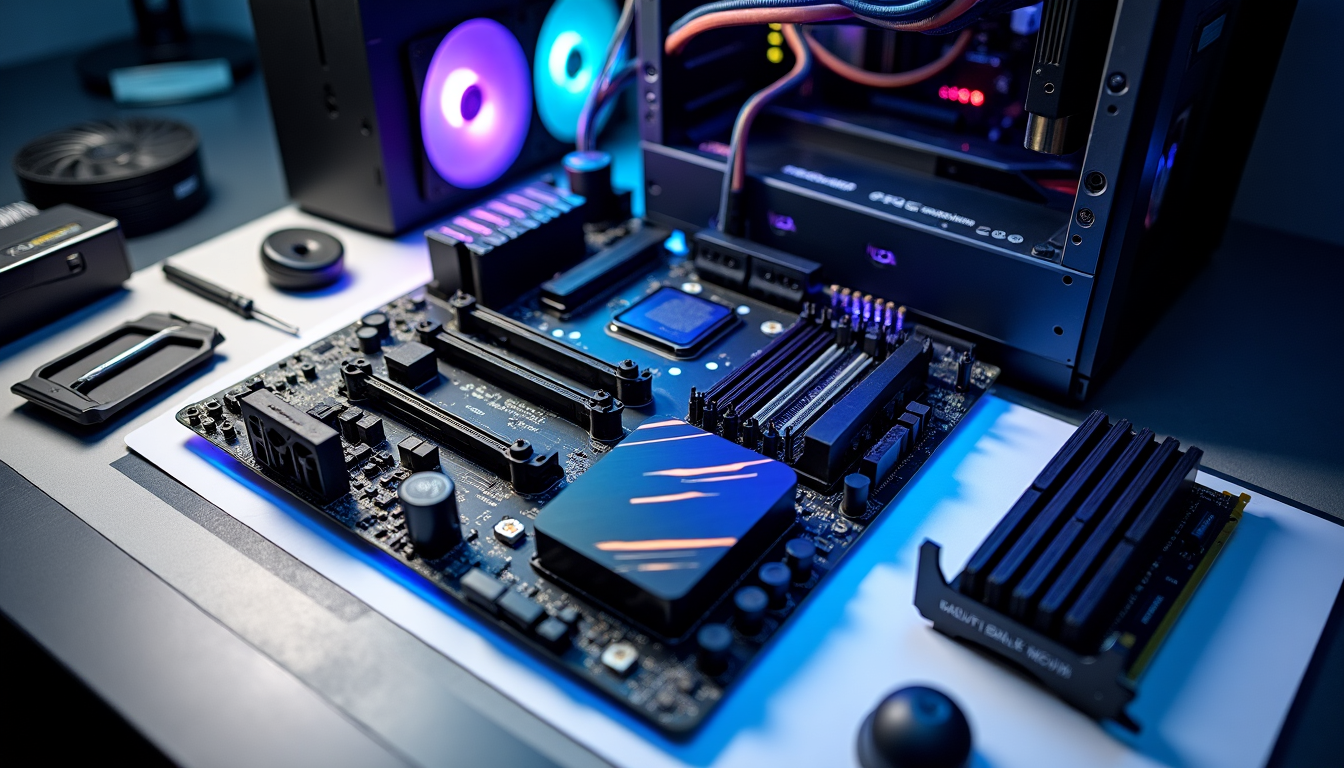
A pile of computer parts can feel overwhelming at first glance. First-time builders often worry about damaging expensive components or making incorrect connections. This feeling is natural – every builder has experienced these concerns.
Building a PC is simpler than most people imagine. The process resembles adult LEGO® because each component has its designated spot and fits together in only one way. Anyone can build their dream machine with proper guidance and patience.
Also Read: How to Build a Secure Home Network Security System: Advanced Guide
This complete guide will help you succeed. We will guide you through each step – from selecting compatible parts to the exciting moment when you first power up your custom-built PC. The PC building community welcomes you. Let’s begin!
Planning to Build Your First PC
Your first PC build starts with a clear understanding of your goals. Here’s how to break down this vital first phase into steps that will lead to success.
Setting Build Goals
A clear vision of your PC’s purpose should come first. Are you building a gaming powerhouse, a workstation for content creation, or a general-purpose computer? Your intended use will shape every decision you make. Gaming builds need focus on graphics and processing power, while content creation requires more RAM and storage capacity.
Determining Your Budget
Building a custom PC can save you money compared to pre-built systems [1]. Set a realistic budget before looking at components. Your budget should be distributed this way for optimal performance:
- Graphics Card and CPU: 40-50% of total budget
- Motherboard and RAM: 15-20%
- Storage and Power Supply: 15-20%
- Case and Cooling: 10-15%
- Peripherals and Additional Components: Remaining amount
You don’t need to spend big on every component right away [1]. Individual parts can be upgraded later as your budget allows.
Creating a Component Checklist
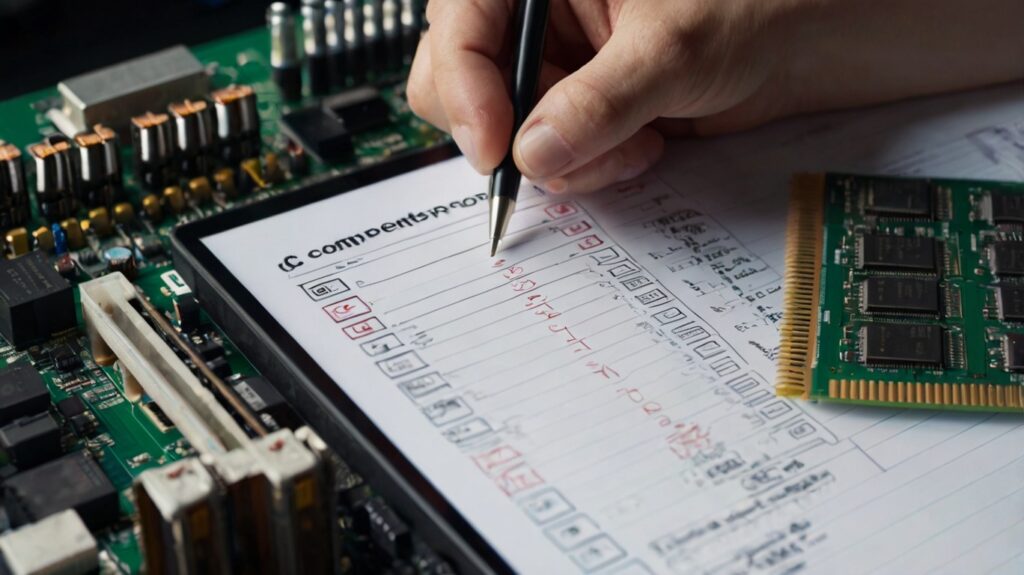
Here’s a detailed list of essential components you’ll need in 2024 [1]:
- Processor (CPU): Think over options like Intel Core i5-14600K for mid-range or AMD Ryzen 7 7800X3D for high-end builds
- Graphics Card (GPU): Choose between options like NVIDIA RTX 4070 or AMD Radeon RX 7800 XT
- Motherboard: Must be compatible with your chosen CPU
- Memory (RAM): 16GB minimum for gaming, 32GB ideal for future-proofing [2]
- Storage: Combination of SSD and HDD recommended
- Power Supply: Calculate based on component requirements
- Case: Ensure proper airflow and component compatibility
- CPU Cooler: Either air or liquid cooling solution
Your gaming PC needs at least 16GB of RAM [2]. A fast NVMe SSD for your operating system and frequently used programs makes an ideal storage setup [1].
PC Part Picker helps verify compatibility between components before purchase [2]. This tool prevents costly mistakes and ensures all chosen components work together naturally.
Smart compromises make a budget gaming machine work well [2]. Focus on components that matter most for your needs while keeping future upgrades in mind.
Choosing Compatible Components
Building a PC is like putting together a puzzle – each component must fit perfectly with others. Let’s walk through the steps to make sure all your parts work together naturally.
CPU and Motherboard Selection
Your PC build starts with a compatible CPU and motherboard combination. The CPU socket type should be your first check since it determines compatibility. To cite an instance, see Intel’s latest 12th and 13th generation processors that use the LGA 1700 socket [3]. AMD’s current generation uses the AM5 socket.
Here’s a helpful tip: motherboards need specific BIOS versions that support newer CPUs [3]. Check the manufacturer’s website for compatibility lists and required BIOS updates before you buy.
Memory and Storage Options
Memory compatibility depends on both your motherboard and CPU supporting your chosen RAM type. Modern systems use DDR4 or DDR5 RAM. Note that DDR5 RAM won’t work in DDR4 slots [4]. These steps will help you get optimal performance:
- Install RAM in matching channels for better performance [4]
- Check motherboard specifications for supported RAM speeds
- Verify CPU memory controller compatibility
Modern motherboards support both SATA III and M.2 NVMe drives. M.2 NVMe drives can deliver transfer speeds up to 10x faster than SATA III [5]. They work best for your operating system and frequently used files.
Power Supply Calculations
System stability depends on proper power supply selection. Add up the power needs of all components plus a 20% buffer for future upgrades. Power supplies work best between 50% and 80% of their rated capacity [6].
These factors affect your power calculations:
- Peak power consumption of each component
- Extra power for overclocking
- Number of storage drives and fans
- GPU power requirements, particularly for high-end cards
Online PSU calculators from reliable manufacturers [7] help determine exact power needs. High-end graphics cards can create large power spikes that affect PSU recommendations [6].
PCPartPicker [8] helps verify component compatibility. This tool checks if your chosen parts work together and helps avoid expensive mistakes. With a database of over 2,000 components [8], it’s a great way to get started for both new and experienced builders.
Pre-Build Component Testing
Testing components before final assembly is a vital step that many first-time builders skip. An extra hour of testing can save days of troubleshooting later.
Out-of-Case Test Setup
A safe workspace needs to be created before testing begins. Your motherboard should rest on its cardboard box – never on a metal surface or anti-static bag [9]. The basic components needed for testing include:
- Power Supply
- Motherboard
- CPU (with cooler installed)
- One RAM stick
- Graphics card (if CPU lacks integrated graphics)
Component Verification Steps
The best way to test components follows this approach:
- Connect the 24-pin motherboard power and 8-pin CPU power cables [9]
- Install CPU and RAM properly (verify socket alignment)
- Attach CPU cooler with proper thermal paste
- Connect a test monitor to your video output
- Use a screwdriver to briefly touch the power switch pins to start [9]
Important: Modern power supplies won’t spin their fans until they detect sufficient load [10]. The PSU fan staying still is normal for newer units.
Troubleshooting Common Issues
Specific patterns indicate particular problems during testing. Your system’s POST (Power-On Self Test) behavior can reveal issues:
A single beep means successful POST [9], while multiple beeps point to specific issues. Modern motherboards come with a seven-segment display showing error codes that make troubleshooting easier [9].
Problems can be solved by going “bare-bones” – testing with only essential components [9]. Research shows that a surprising number of new components arrive DOA (Dead On Arrival), which makes testing so important [9].
Pro Tip: Component packaging should be kept until testing finishes. Most retailers give 30-day returns for DOA parts [9]. Customer service often waives restocking fees for defective items if you speak to them calmly.
Testing builds confidence in your components before final assembly. Studies show that complete testing solves 90% of common build issues before they become serious problems [9].
Building the Foundation
The components have passed our tests, and now we can start building. Your PC’s motherboard works like its central nervous system, so installing it correctly is vital to its reliability.
Motherboard Preparation
Let’s get the case ready for our motherboard. Look for the I/O shield that came with your motherboard – a rectangular metal plate that fits in the back of your case. You should install this first since many builders forget about it until too late [11]. The shield needs firm pressure to click into its place.
The standoffs play a significant role as spacers that stop your motherboard from shorting against the case. Make sure these line up with your motherboard’s mounting holes [12]. Pro tip: Double-check your standoff count – a missing one can make things unstable, while an extra one in the wrong place might damage your board.
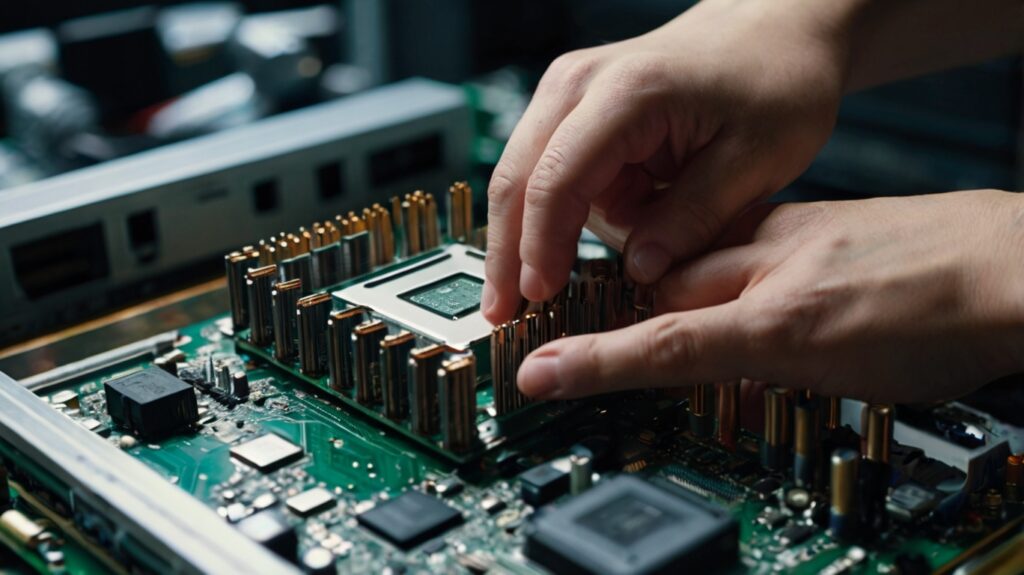
CPU and RAM Installation
The CPU socket sits on your motherboard. Latest Intel processors need Socket LGA 1700, while AMD chips work with either AM4 or AM5 [11]. Here’s our proven installation method:
- Release the CPU socket lever
- Line up the processor using the golden triangle marker
- Lower the CPU gently – it should settle naturally
- Close the retention bracket and secure the lever [1]
The motherboard manual helps identify the best RAM slots for your setup [11]. DDR4 and DDR5 modules come with a notch that prevents wrong installation [11]. Important: You should hear a click with firm pressure – RAM that isn’t seated properly often causes boot problems [11].
Power Supply Setup
Modular power supplies work best with essential cables connected beforehand [13]. You’ll need these cables:
- 24-pin motherboard connector
- 8-pin CPU power connector
- PCIe power connectors (for graphics card)
- SATA power cables (for storage drives)
Your case’s ventilation design determines which way the PSU fan should face [14]. Cable management works better if you route cables through the nearest holes before making final connections [14]. Note that the CPU power connector becomes tricky to install later, so connect it early [1].
Better airflow and cleaner looks come from routing power cables behind the motherboard tray [13]. The 24-pin connector needs steady, even pressure to fit properly, so take your time with it.
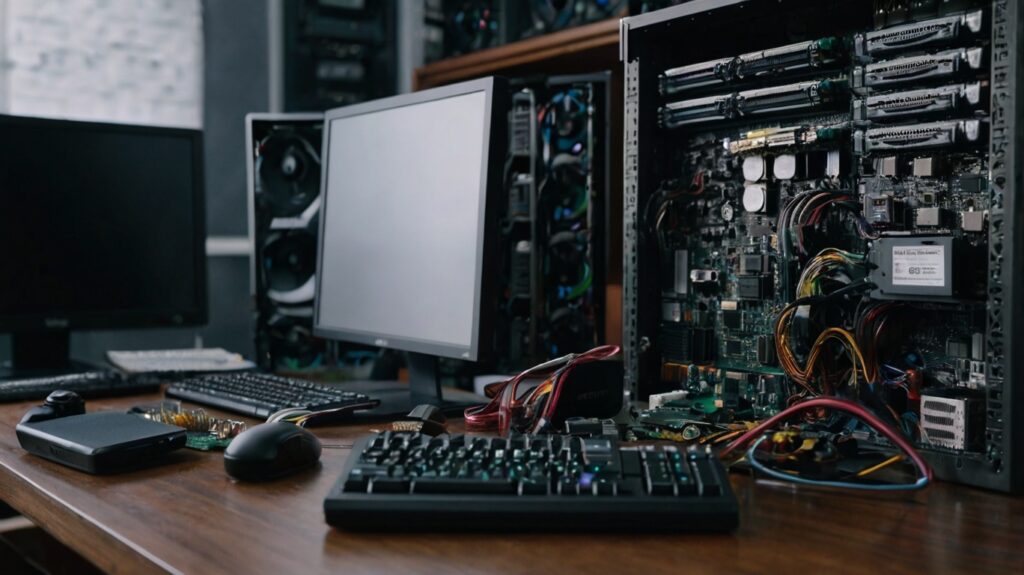
Case Assembly Fundamentals
PC building gets interesting when you start putting everything into your case. Good preparation and attention to detail will help you mount your components securely and safely.
Case Preparation Steps
A clean build starts with proper case preparation. Take out all packaging materials and organize the included screws and accessories [1]. Your case’s box makes a stable work surface for safety.
- Install standoffs in the appropriate holes for your motherboard size
- Verify the I/O shield is firmly clicked into all four corners
- Check front panel cables are untangled and available
- Remove unnecessary drive cages if your case allows
- Install case fans in optimal positions for airflow
Pro tip: Touch the installed power supply periodically while working to ground yourself [15].
Component Mounting Guide
The order of mounting components improves your build process. Here’s the sequence that works best:
Start by mounting the power supply and managing its cables [15]. This grounds you and sets up cable management. Next, put storage drives in their designated bays. Then place the motherboard onto the standoffs carefully [15].
Important: Make sure all standoffs match your motherboard’s holes. Misaligned standoffs can cause shorts [1].
Front Panel Connections
First-time builders often find front panel connections tricky, but here’s what you need to know. These small connectors include:
- Power switch and LED cables
- Reset switch
- USB 2.0 and 3.0 headers
- Front audio connectors
- HDD activity LED
Your motherboard manual shows exact pin locations since they vary by model [1]. Modern cases have standard connections, but LED connectors need correct polarity [16].
Cable Management Tip: Put front panel cables through the nearest management holes before connecting them [17]. This keeps your build clean and helps airflow. Velcro strips work better than zip ties and make future changes easier [17].
Test your front panel connections before finishing the build. A working power button helps avoid troubleshooting later. With modular power supplies, connect all needed cables before mounting it in the case [15].
Advanced Component Installation
Now that we have our base ready, let’s move on to installing the advanced components. These parts will shape your PC’s performance, so we need to get them right.
Graphics Card Mounting
The graphics card usually costs the most in a gaming build. You need to know how to install it correctly. Modern GPUs plug into the PCIe x16 slot on your motherboard [18]. The topmost slot gives the fastest connection, making it ideal for best performance.
Important Power Considerations: High-end cards these days need their own power connections. Here’s what you should do:
- Calculate your power needs carefully
- Connect all required power cables before mounting
- Make sure it sits properly in the PCIe slot
- Secure the bracket with screws
- Check power connections again
Storage Drive Setup
A dual-drive setup works best for optimal performance. SSDs are by a lot faster than traditional hard drives and will boost your PC’s performance right away [2]. Here’s how we set it up:
- Primary Drive (SSD):
- Operating system installation
- Programs you use often
- Games you play regularly
- Secondary Drive (HDD):
- Media storage
- Document backup
- Games you play less
M.2 SSDs need to go into their slot on the motherboard at a 30-degree angle before you secure them with a mounting screw. Traditional HDDs fit into the drive bays – just make sure to manage both power and data cables neatly.
Cooling System Installation
Good cooling is vital to keep performance steady. You can pick between air cooling and liquid cooling [18].
Air cooling gives you simplicity and reliability. Good airflow inside the case moves hot air away from components. Make sure you have:
- Fans pointing the right way
- Tidy cable routing
- Good case ventilation
AIO (All-In-One) liquid cooling solutions are easier to install. Here’s what you do:
- Put the radiator where you want it (usually top or front of case)
- Install fans facing the right way
- Put thermal paste on CPU if needed
- Attach the pump block to the CPU
- Hook up power cables for pump and fans
Pro Tip: The radiator should sit higher than the pump in an AIO cooler to avoid air bubbles [19]. This keeps things quiet and cools better.
Your SSDs need at least 10% free space [20] for the best thermal performance. Regular cleaning helps maintain good airflow. Stable temperatures mean better performance and your components last longer.
Professional Cable Management
Cable management isn’t just about looks – it’s significant for both performance and maintenance. A messy cable setup can obstruct airflow and lead to heating issues [21]. Good management keeps components cooler and helps maintain optimal temperatures [21].
Power Cable Organization
Power cables need attention first since they’re the thickest and trickiest to route. A modular PSU works best because you can install only the cables you need [21]. Here’s what you’ll need for professional cable management:
- Velcro straps or ESD-compliant ties
- Cable sleeves for bundling
- Cable clips for securing routes
- Cable cutters for zip tie removal
- Cable combs for parallel runs
Built-in case features make routing power cables easier. Modern cases come with helpful features like tie-down points and clips [21]. Running all power cables behind the motherboard tray creates a cleaner look and improves airflow.
Data Cable Routing
Clean, unobstructed paths are essential for data cables. Research shows tangled wires can increase overheating risks during intensive tasks like gaming or overclocking [21]. Here’s what works best:
- Plan cable routes before securing anything
- Use motherboard cutouts for shortest paths
- Group similar cables together
- Leave some slack for future maintenance
- Avoid sharp bends that could damage wires
Pro Tip: Placing power supply and drives near motherboard tray holes can reduce cable length requirements by a lot [21].
Esthetic Optimization
The final step creates that professional, clean look. Cable management is an art form that covers both visible and hidden areas of your build. A well-organized setup makes future upgrades more convenient [21] and reduces maintenance errors [21].
Color-coordinated cable ties complement your case design perfectly [21]. The area behind the motherboard needs the same attention – it’s not just about hiding cables but arranging them properly. Cables shouldn’t stack too thick or the side panel won’t close properly.
Important: Don’t over-tighten zip ties as this can damage internal wiring or insulation [21]. Velcro straps work better for frequently accessed areas because they allow easy modifications without risking cable damage.
The motherboard’s fixed position lets you hide cables effectively in the space behind it [21]. A setup that routes through cable holes and uses provided cutouts looks great and remains functional for years to come.
System Configuration
Your PC is ready for its first boot after physical assembly. The final configuration steps will give you optimal performance and stability.
BIOS Setup Guide
The BIOS is your first destination when you power on the system. You should update your BIOS before changing any settings to get better performance and compatibility with modern CPUs [22]. Here’s a tested configuration sequence:
- Enter BIOS using the appropriate key (usually F2, F12, or Delete)
- Enable Secure Boot to work with Windows 11 [22]
- Activate TPM if your operating system needs it [22]
- Set RAM to XMP profile to achieve advertised speeds [22]
- Enable Resizable BAR to boost gaming performance [22]
Pro Tip: Save a copy of working BIOS settings before making major changes.
Operating System Installation
A clean Windows installation needs a USB drive with at least 8GB of space [23]. The tested installation process works like this:
Boot from your prepared USB drive. Older PCs without a Boot menu need BIOS access to change the boot order [24]. Once booted, you should:
- Select language and region priorities
- Choose the correct Windows edition
- Format the drive to get a clean installation
- Let automatic restarts happen as needed
Important: Disconnect any secondary drives during OS installation to avoid boot partition confusion.
Driver Updates
Driver updates are vital for optimal performance after Windows installation. A systematic approach to driver installation works best:
Start with these essential drivers:
- Chipset drivers from your motherboard manufacturer [25]
- Graphics card drivers to boost gaming performance [25]
- Network adapters to get internet connectivity
- Audio drivers for sound functionality
Windows 11 can detect and install many drivers automatically [26]. The latest versions from manufacturer websites will give you optimal performance. Regular updates come with bug fixes, security improvements, and new features that boost stability [2].
Performance Optimization Tips:
- Enable high-performance power settings [25]
- Disable unnecessary background processes [25]
- Keep your OS drive below 70% capacity
- Schedule regular driver checks
Graphics drivers typically update twice monthly [27]. Chipset drivers need less frequent updates. Gaming systems need extra attention to GPU drivers that can substantially affect gaming performance [28].
Pro Tip: A system restore point before major driver updates gives you a safety net if problems occur.
Check all installed drivers in Device Manager. A yellow exclamation mark next to any component shows a driver problem that needs fixing [26]. Monthly checks of manufacturer websites will keep your system running smoothly with critical updates.
Conclusion
Building your own PC might seem intimidating at first, but careful planning and step-by-step execution make it totally doable. Anyone can create a custom PC that perfectly matches their needs through smart component selection, complete testing, and well-organized assembly.
A successful PC build depends on your attention to detail – from picking compatible parts to managing cables and tweaking system settings effectively. Many builders find their original build opens doors to deeper technical knowledge and future upgrades.
Your custom-built PC will give you better performance, value, and the pride of creating something yourself. You can start your build confidently, work through each step patiently, and always double-check connections before the first power-up. You’ll soon join the many others who have found that there was pure joy in building their perfect PC.
FAQs
What are the essential components needed to build a PC?
The core components for building a PC include a CPU, motherboard, RAM, storage (SSD/HDD), power supply, graphics card, case, and CPU cooler. You’ll also need a Windows license for the operating system.
How much does it typically cost to build a gaming PC?
The cost of building a gaming PC can vary widely, but you can build a decent entry-level gaming rig for around $500-$700. Mid-range systems often cost $1000-$1500, while high-end builds can exceed $2000. The exact cost depends on your performance goals and component choices.
Is it difficult for a beginner to build their first PC?
While it may seem daunting at first, building a PC is quite achievable for beginners. With proper research, careful planning, and by following step-by-step guides, most people can successfully build their first PC. The process is often compared to assembling adult LEGO®.
What are some common mistakes to avoid when building a PC?
Common mistakes include forgetting to install standoffs, applying too much thermal paste, not connecting all necessary power cables, and failing to ground yourself to prevent static discharge. It’s also crucial to ensure all components are compatible before purchasing.
How can I optimize my PC’s performance after building it?
To optimize your PC’s performance, update all drivers, especially for your graphics card. Enable XMP profiles for your RAM in BIOS, install your OS on an SSD, and ensure proper cable management for good airflow. Regular maintenance, like dust cleaning and software updates, also helps maintain peak performance.