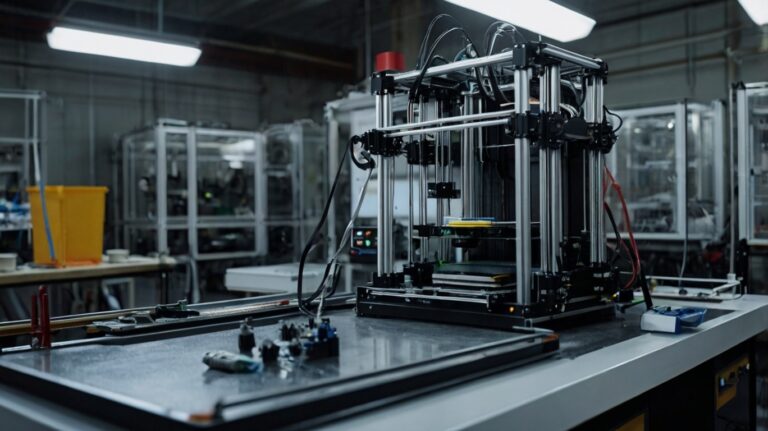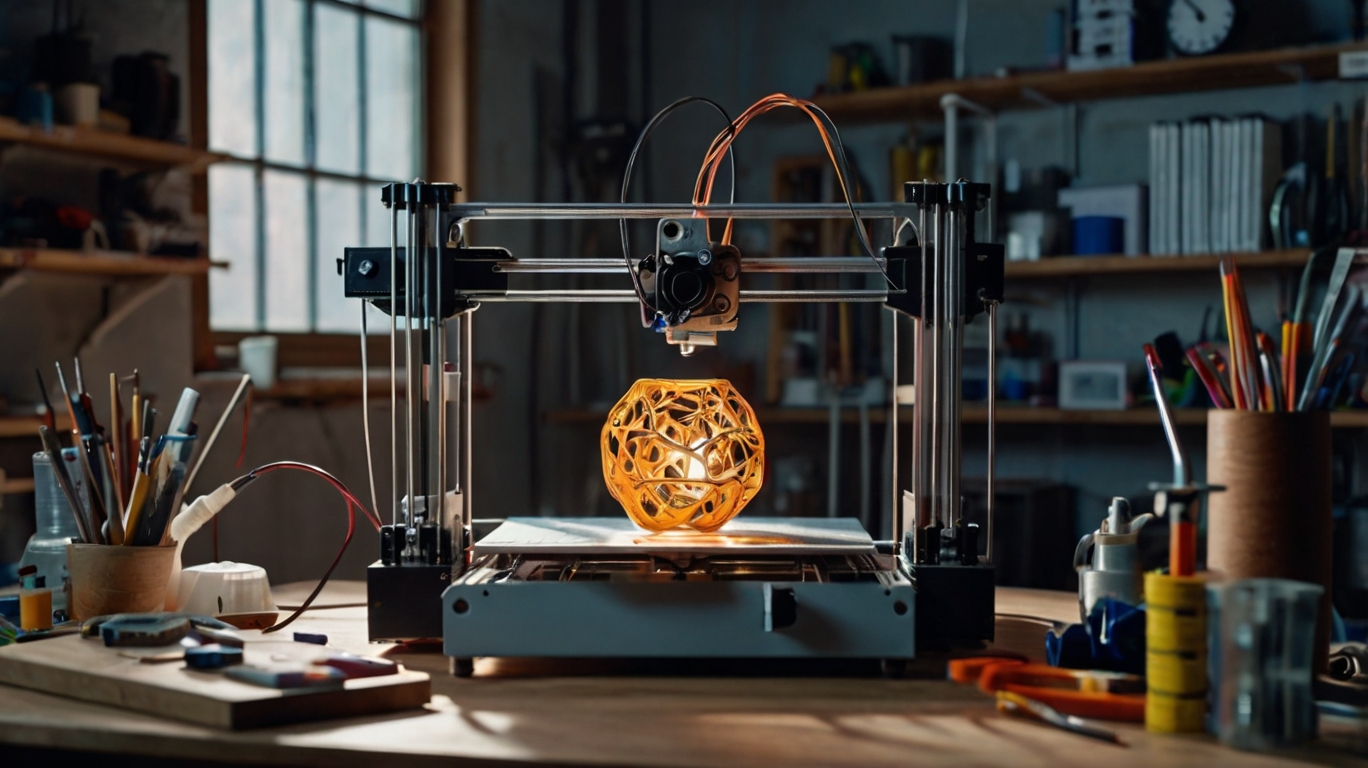
3D Printer has revolutionized the way we create and innovate, offering unparalleled opportunities for makers, designers, and engineers. However, achieving flawless prints consistently requires more than just loading your filament and pressing start—calibration is key. In this guide, we will walk you through essential calibration steps to enhance print quality, ensure dimensional accuracy, and maintain consistent performance.
Table of Contents
Introduction
Calibration is the backbone of successful 3D printing. It minimizes print errors, enhances dimensional precision, and prolongs the lifespan of your 3D printer. Whether you’re a beginner or an experienced maker, proper calibration ensures your designs come to life as intended.
The importance of calibration cannot be overstated. Imagine spending hours designing a model or downloading a perfect file, only for the print to fail due to poor layer adhesion, inconsistent extrusion, or inaccurate dimensions. Calibration ensures that each part of your printer—from the extruder to the bed and axes—is working harmoniously to produce outstanding results.
Benefits of Calibration:
| Benefit | Description |
|---|---|
| Improved Quality | Reduces defects like warping, stringing, and layer shifting. |
| Dimensional Accuracy | Ensures parts match intended measurements for functional use. |
| Consistent Performance | Reduces the need for reprints, saving time and materials. |
| Enhanced Reliability | Prevents mechanical issues and improves long-term usability. |
| Cost Efficiency | Minimizes material wastage and energy consumption. |
Through this guide, you’ll learn actionable steps to calibrate critical components of your 3D printer. Each section builds on the previous one, ensuring you develop a holistic understanding of calibration and its impact on your printing success. Whether you’re troubleshooting existing issues or fine-tuning for precision, this guide will equip you with the knowledge and confidence to master your 3D printer.
Bed Leveling
A level bed is crucial for adhesion and print success. Uneven beds often result in poor first layers, leading to failed prints.
Why Bed Leveling Matters
The first layer sets the foundation for the entire print. A well-leveled bed ensures the nozzle deposits filament evenly, improving adhesion and layer uniformity.
Step-by-Step Process (Paper Method)
- Home the Printer: Move the nozzle to the home position.
- Adjust the Screws: Place a piece of paper between the nozzle and bed.
- Feel the Tension: Adjust each corner until the paper moves with slight resistance.
- Recheck Corners: Repeat to ensure consistency across the bed.
Common Mistakes and Troubleshooting Tips
- Mistake: Over-tightening screws.
- Solution: Ensure the paper moves without tearing.
- Mistake: Ignoring bed cleanliness.
- Solution: Clean the bed with isopropyl alcohol before leveling.
E-Step Calibration
Extruder steps per millimeter (E-steps) dictate how much filament the printer extrudes. Incorrect E-steps can lead to over-extrusion or under-extrusion.
Why E-Step Calibration is Important
E-Step calibration ensures the correct amount of filament is extruded, directly impacting print quality. Over-extrusion results in blobs and stringing, while under-extrusion causes weak layers and gaps.
Tools Required
- Digital calipers
- Marker
- Filament
Calibration Procedure
- Mark the Filament: Use a marker to measure and mark 100mm from the extruder entry.
- Extrude Filament: Use the printer’s controls to extrude exactly 100mm of filament.
- Measure Remaining Filament: Use calipers to measure the distance between the mark and the extruder entry.
- Calculate Adjustment: If the extruded filament is off, adjust the E-step value in the printer’s firmware or settings using the formula:
- New E-Step Value = (Current E-Step Value × 100) / Measured Length
- Test Again: Repeat until the extrusion is accurate.
Flow Rate Calibration
Flow rate determines the volume of filament extruded through the nozzle. Getting this setting right is critical for achieving consistent and strong layers.
Why Flow Rate Matters
Incorrect flow rates can lead to weak prints (under-extrusion) or excess material (over-extrusion), affecting both aesthetics and functionality.
Single-Wall Cube Test
- Print a Cube: Download or design a cube with single-wall thickness (e.g., 0.4mm).
- Measure Wall Thickness: Use digital calipers to measure the actual thickness of the walls.
- Adjust Flow Rate: If the measured thickness differs from the intended thickness, adjust the flow rate in your slicer settings.
- New Flow Rate (%) = (Target Wall Thickness / Measured Wall Thickness) × Current Flow Rate
- Reprint and Verify: Reprint the cube to ensure accuracy.
First Layer Calibration
The first layer is the foundation of a successful print. Proper calibration ensures the layer adheres well to the bed and sets the stage for a flawless build.
Why the First Layer is Critical
The first layer provides the base adhesion necessary to prevent warping and detachment during printing. An uneven or poorly calibrated first layer can lead to failed prints.
Adjusting Nozzle Height and Z-Offset
- Nozzle Height: Use the bed leveling knobs to bring the nozzle to the ideal height—close enough to slightly squish the filament but not too close to block extrusion.
- Z-Offset: Fine-tune the Z-offset value in your printer’s settings for precise height control.
Evaluating First-Layer Results
- Perfect Layer: Smooth, consistent lines with no gaps or excessive squishing.
- Too High: Lines may appear thin or fail to adhere to the bed.
- Too Low: Filament may be squished excessively, causing ridges or blockages.
Tips for Success
- Use adhesives like glue sticks or painter’s tape on the bed for better adhesion.
- Print a small test file to verify the first-layer settings before starting large prints.
Axis Calibration (X, Y, Z)
Proper axis calibration ensures that printed objects have accurate dimensions and proportions.
Importance of Dimensional Accuracy
Precise X, Y, and Z-axis movements ensure parts fit together as designed, especially for functional and mechanical prints.
Calibration Procedure
- Print Calibration Cubes: Use cubes with predefined dimensions, such as 20mm × 20mm × 20mm.
- Measure the Cube: Use calipers to measure the dimensions of the printed cube along each axis.
- Calculate Adjustments: Compare the measured dimensions to the intended size and adjust the steps-per-mm in the printer’s firmware accordingly:
- New Steps = (Current Steps × Intended Size) / Measured Size
- Reprint and Verify: Print another cube to ensure the adjustments are correct.
Common Issues and Fixes
- Belt Tension: Loose belts can cause dimensional inaccuracies; tighten them as needed.
- Pulley Alignment: Misaligned pulleys can lead to skewed prints; realign them carefully.
Temperature Calibration
Temperature calibration is crucial for optimizing filament performance and achieving high-quality prints.
Why Temperature Matters
Each filament type (PLA, ABS, PETG, etc.) has a specific temperature range for optimal extrusion. Incorrect temperatures can cause poor adhesion, stringing, or weak layers.
Using Temperature Towers
- Download a Model: Use a temperature tower designed for your filament type.
- Set Temperature Ranges: Assign a different nozzle temperature to each section of the tower (e.g., 190°C to 230°C for PLA).
- Print the Tower: Observe the print quality at each section.
- Identify Optimal Temperature: Choose the section with the best adhesion, smoothness, and minimal stringing.
Additional Tips
- Always preheat the bed to the recommended temperature for the filament.
- Use a fan or adjust cooling settings for filaments like PLA that benefit from rapid cooling.
Routine Maintenance and Checks
Regular maintenance extends your printer’s lifespan and ensures consistent performance.
Why Maintenance is Crucial
Over time, components wear out or become misaligned. Routine checks prevent major failures and maintain print quality.
Maintenance Checklist
- Belt Tension: Ensure belts are tight but not overly stressed.
- Nozzle Cleaning: Remove filament buildup using a needle or cleaning kit.
- Lubrication: Apply lubricant to moving parts like rods and bearings.
- Firmware Updates: Check for updates from the printer’s manufacturer.
- Inspect Components: Regularly check screws, couplings, and cables for wear.
When to Recalibrate
- After changing filaments or using new brands.
- After making hardware upgrades or modifications.
- Periodically, depending on the frequency of use.
Conclusion
Calibrating your 3D printer may seem daunting, but it’s an essential step to achieve flawless prints. By following these steps and performing regular maintenance, you’ll not only enhance your printer’s performance but also enjoy a smoother, more reliable 3D printing experience.
Embrace calibration as a routine, and watch your designs come to life with precision and perfection!
1. How often should I calibrate my 3D printer?
You should calibrate your printer whenever you notice print quality issues, after changing filaments, or after making hardware adjustments. Routine calibration every few months is also recommended.
2. Why is my first layer not sticking to the bed?
Common reasons include an unlevel bed, incorrect nozzle height, or a dirty build plate. Ensure proper bed leveling and clean the surface before printing.
3. What tools do I need for calibration?
Essential tools include digital calipers, a marker, a ruler, isopropyl alcohol, and sometimes a feeler gauge for precise leveling.
4. Can I use the same settings for different filaments?
No, different filaments have unique temperature and flow rate requirements. Always check the manufacturer’s guidelines and perform tests for optimal results.
5. What should I do if my prints are dimensionally inaccurate?
Start by calibrating the X, Y, and Z axes using calibration cubes. Check for mechanical issues like loose belts or pulleys, and adjust the firmware as needed.
Also Read: FDM vs SLA vs SLS: Which 3D Printing Technique Suits Your Needs?