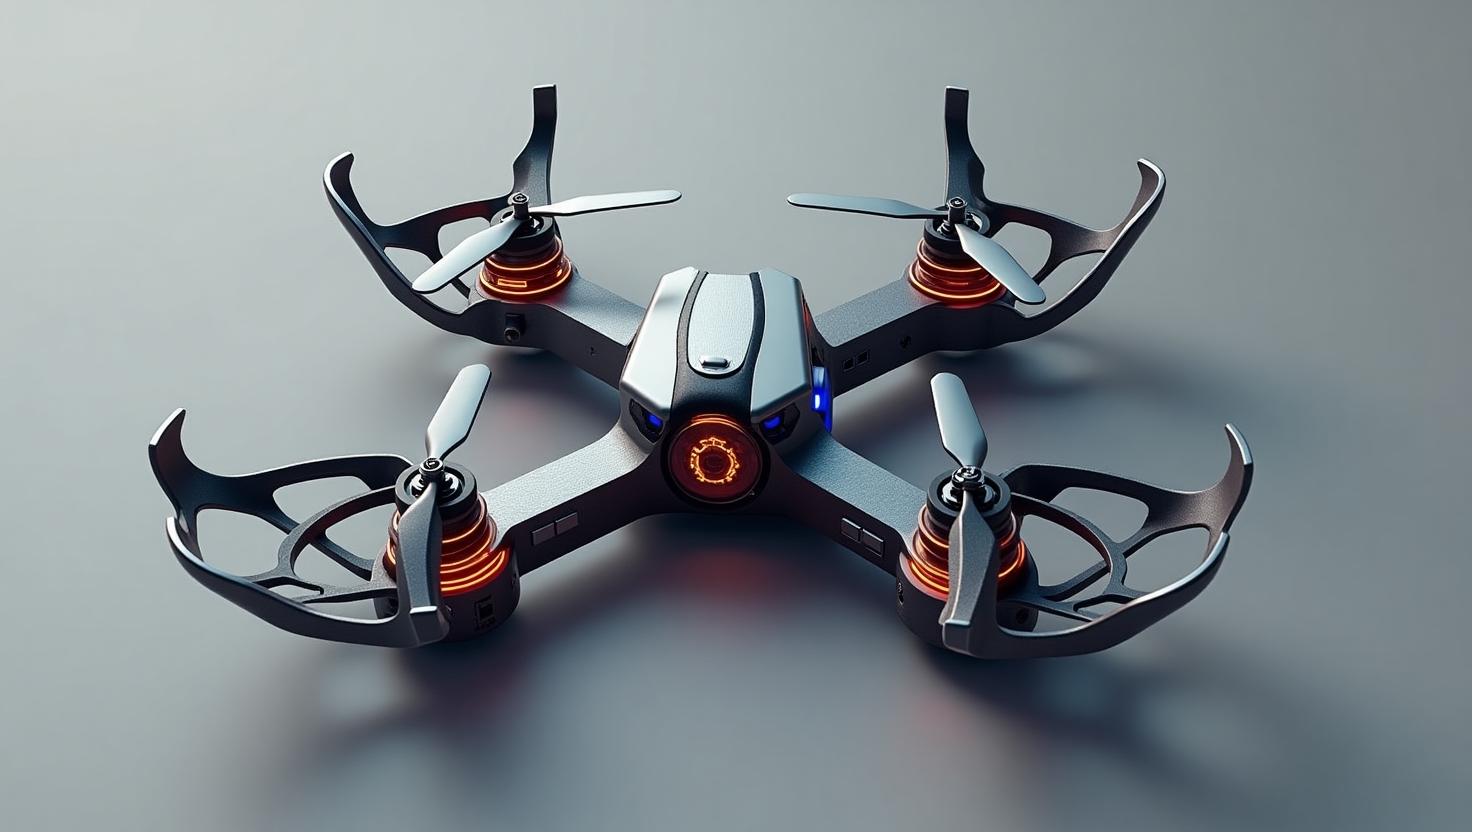
The ubiquity of drones in recreational, professional, and academic contexts has surged, rendering them indispensable across diverse applications. Engaging in the construction of a drone from its fundamental components provides an intellectually stimulating endeavor that deepens one’s comprehension of aerodynamics, advanced electronics, and systems engineering. This exploration delineates the critical components and methodologies indispensable for assembling a functional and customized aerial system.
Also Read: The Role of 3D Printing in Custom Drone Component Design
Table of Contents
Introduction to Building Your First DIY Drone
Constructing a drone from its foundational elements offers an unparalleled opportunity to tailor the design to specific objectives while acquiring a nuanced understanding of the interplay between aerodynamics, control systems, and electronic integration. This treatise elucidates the critical components requisite for an efficacious assembly, provides insights into optimal part selection, and outlines the specialized tools necessary for precise construction and rigorous testing.
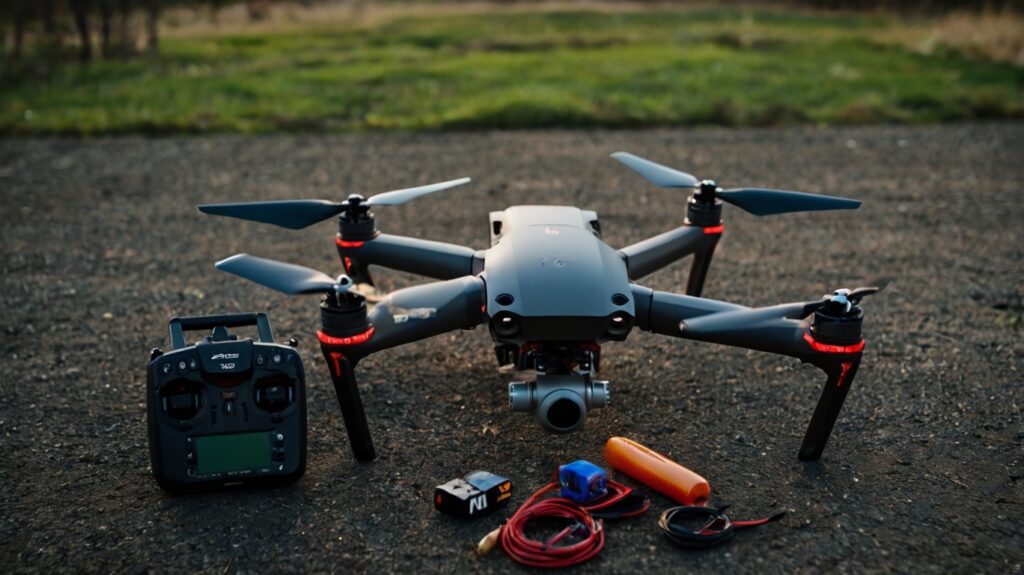
Essential Parts for a DIY Drone
Frame
The frame constitutes the structural core of the drone, anchoring all integrated components while dictating its spatial configuration and mechanical resilience. Predominantly fabricated from advanced lightweight composites such as carbon fiber or aluminum alloys, frames are pivotal in optimizing aerodynamics and load distribution.
- Example: The F450 frame exemplifies an optimal choice due to its robustness and compatibility with diverse build configurations.
- Design Considerations: Selection criteria must include compatibility with payload capacity, motor configuration, and intended functional objectives.
Flight Controller
Serving as the computational nucleus of the drone, the flight controller orchestrates stabilization, navigational algorithms, and input processing.
- Functionality: Integrates seamlessly with peripheral sensors and actuators, ensuring precise command execution and equilibrium.
- Advanced Recommendations: Systems such as Pixhawk and Betaflight are lauded for their scalability and integration capabilities.
Motors
Motors generate the requisite propulsion to sustain flight dynamics. Brushless motors are universally adopted due to their superior efficiency and longevity.
- Technical Specification: 1000KV brushless motors are particularly advantageous for novice constructors owing to their balanced thrust-to-efficiency ratio.
- Key Parameters: The motor’s compatibility with propeller dimensions and power requirements is non-negotiable for optimal performance.
Electronic Speed Controllers (ESCs)
ESCs modulate the electrical current delivered to the motors, facilitating responsive throttle adjustments and directional control.
- Specifications: Ensure ESCs align with the amperage demands of the motors while supporting programmable features for custom configurations.
- Implementation: Securely position ESCs to optimize thermal dissipation and maintain operational integrity.
Propellers
Propellers translate motor torque into aerodynamic thrust, fundamentally influencing flight dynamics and stability.
- Aerodynamic Optimization: Select propellers whose dimensions and pitch harmonize with motor specifications to achieve aerodynamic efficiency.
- Exemplary Pairing: The 1045 propeller configuration synergizes effectively with 1000KV motors.
Battery
The battery constitutes the primary energy reservoir, dictating both operational endurance and payload limitations. Lithium Polymer (LiPo) batteries dominate due to their high energy density.
- Specifications: A 2-cell (7.4V) LiPo battery with a 2200mAh capacity is optimal for introductory builds.
- Critical Considerations: Prioritize adherence to safety protocols to mitigate risks associated with overcharging or physical damage.
Remote Control System
The remote control system encompasses the transmitter and receiver, enabling real-time user input for maneuvering.
- Evaluation Criteria: Emphasize systems with sufficient channel diversity and extended range to accommodate nuanced control demands.
Optional Components
- Camera/Sensors: Integration of FPV cameras or additional sensors facilitates applications in aerial imaging and autonomous navigation.
- Landing Gear: Augmenting the drone with landing gear mitigates structural stress during terrestrial impacts.
Table of Required Parts
| Part | Description | Example/Recommendation |
|---|---|---|
| Frame | Backbone of the drone, holds all components together. | F450 Frame |
| Flight Controller | Brain of the drone, stabilizes flight and processes remote control inputs. | Betaflight, Pixhawk |
| Motors | Provide thrust needed for flight. | 1000KV Brushless Motors |
| Electronic Speed Controllers (ESCs) | Regulate power supply to motors based on flight controller commands. | 30A ESCs |
| Propellers | Generate lift and thrust for flight. | 1045 Propellers |
| Battery | Powers all electronic components. | 2-cell (7.4V) 2200mAh LiPo |
| Remote Control System | Transmitter and receiver to control the drone remotely. | 6-channel Transmitter |
| Camera/Sensors (Optional) | Add-on for aerial photography or FPV flying. | FPV Camera |
| Landing Gear (Optional) | Protects drone during landings. | Adjustable Landing Gear |
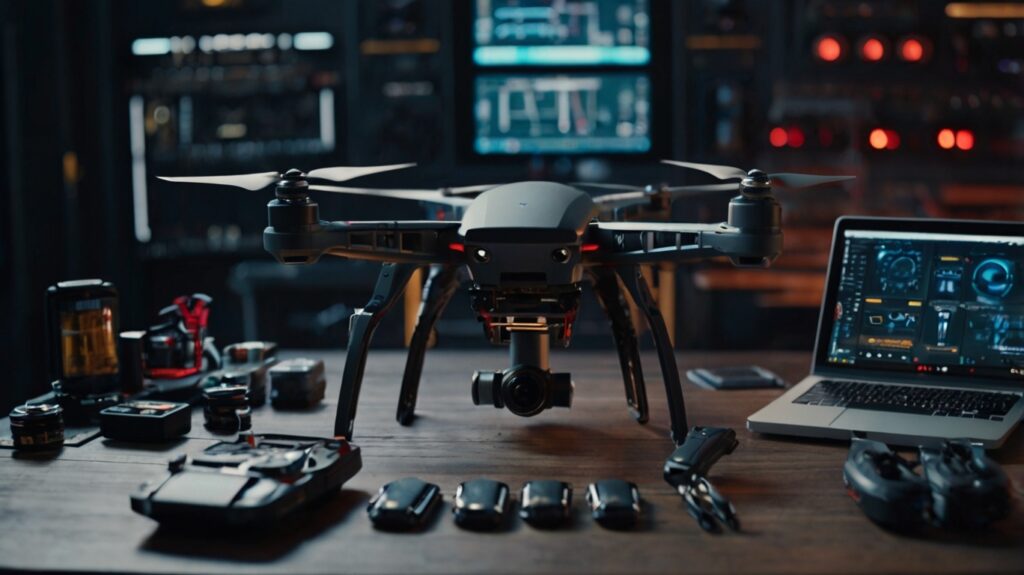
Additional Tools Required
To assemble your drone, you’ll need:
- Soldering Iron: For connecting electrical components.
- Multimeter: To diagnose electrical issues.
- Heat Shrink Tubing: For insulating connections.
- Double-Sided Tape/Velcro: To secure components like the battery.
- Zip Ties: To organize and secure wires neatly.
Assembly Process
- Assemble the Frame:
Start by putting together the frame according to the manufacturer’s instructions. - Install Motors and ESCs:
Attach motors to the arms of the frame and connect them to ESCs. - Connect the Flight Controller:
Secure the flight controller and link it to the ESCs and sensors. - Attach Propellers:
Install propellers, ensuring the correct orientation for clockwise (CW) and counterclockwise (CCW) rotation. - Secure the Battery:
Attach the battery to the frame, ensuring a stable connection to the power distribution board. - Set Up the Remote Control System:
Install the receiver on the drone and bind it with the transmitter. - Test Flight:
Calibrate settings and conduct test flights in an open area to ensure stability and responsiveness.
FAQs
1. Can I build a drone without prior experience?
Yes, building a beginner-friendly drone with basic components is achievable. Many online tutorials and communities offer step-by-step guidance.
2. How much does it cost to build a DIY drone?
The cost varies depending on the quality of components, ranging from $100 to $500 for a basic setup.
3. What tools are essential for assembling a drone?
Key tools include a soldering iron, multimeter, and basic hand tools like screwdrivers.
4. Do I need a license to fly my DIY drone?
Drone regulations vary by country. Check your local aviation authority’s guidelines to ensure compliance.
5. What’s the best way to learn about drone building?
Explore online forums, video tutorials, and beginner kits to gain hands-on experience.
Conclusion
Building your first DIY drone is an exciting project that combines creativity, technical skills, and innovation. By selecting the right components, following proper assembly steps, and adhering to safety guidelines, you can create a drone that fits your needs. Start your journey today and enjoy the thrill of flying a drone built with your own hands!