
Table of Contents
Did you know the average household spends over $1,100 yearly on streaming service subscriptions? 🤔
Most of us already own the media we want to watch, but it sits scattered on various hard drives and computers. A raspberry pi media server could solve your subscription headaches and let you stream your media collection to any device at home.
Our extensive testing of different setups shows the Raspberry Pi 4 is an economical way to build your own home media server. You can create a powerful streaming hub that gives you complete control of your entertainment with hardware that costs less than $100.
Want to escape subscription fatigue and build your own home media server with Raspberry Pi 4? We’ll guide you through the essentials – from picking the right software to streaming your media on all your devices.
Comparing Media Server Solutions
Our tests of different media server solutions for Raspberry Pi 4 revealed three outstanding contenders. Here’s a comparison to help you pick the right one for your setup.
Plex vs Jellyfin vs Emby
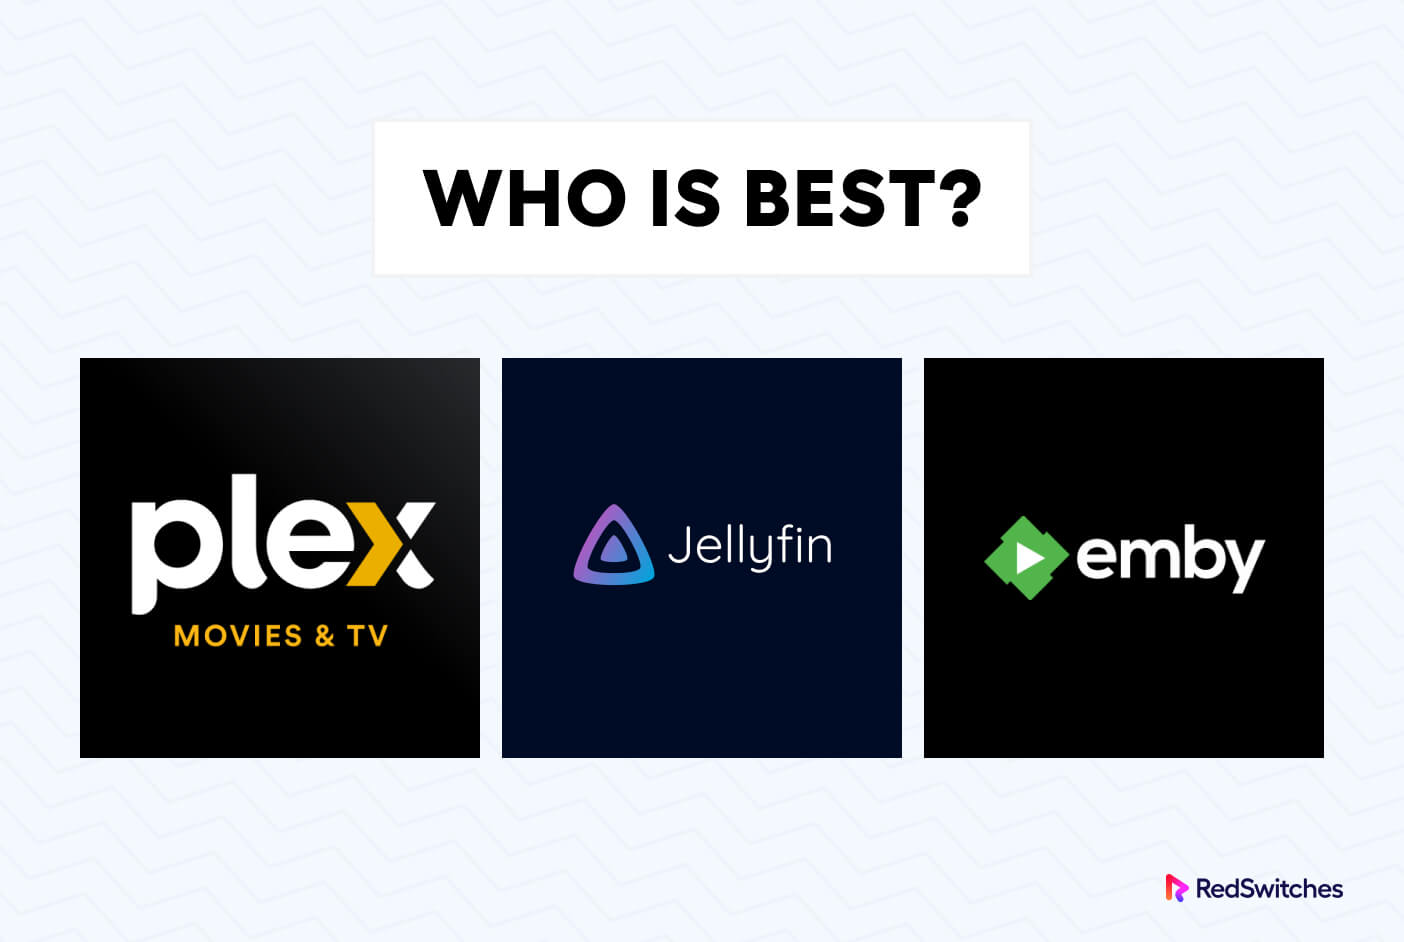
These platforms have distinct strengths, as our thorough testing shows. Plex delivers a polished experience with its Netflix-like interface but needs a Plex Pass subscription for hardware transcoding [1]. Jellyfin gives you all features including hardware transcoding without any subscription since it’s completely free and open-source [2]. Emby strikes a balance between the two by offering a mix of free and premium features.
Here’s how they compare in key areas:
| Feature | Plex | Jellyfin | Emby |
|---|---|---|---|
| Hardware Transcoding | Paid | Free | Paid |
| User Interface | Premium | Simple | Modern |
| Installation Ease | Excellent | Docker Required | Good |
| Remote Access | Built-in | Manual Setup | Built-in |
DLNA/UPnP Options
MiniDLNA is a great lightweight alternative. Our tests showed smooth streaming of 1080p content to devices of all types, including gaming consoles and smart TVs [3]. This solution works perfectly with Pi’s resources. You’ll need just a few configuration steps to get it running.
Resource Requirements
Our testing revealed these essential requirements for smooth performance:
- Storage: Minimum 8GB microSD card for the operating system [4]
- RAM: 4GB handles most uses well, even with extra services running [1]
- Network: Ethernet connection works best for stable streaming
- External Storage: USB 3.0 drive with external power [5]
The Pi 4 handles 1080p content smoothly. However, 4K playback needs direct play capability because transcoding such high-resolution content isn’t practical [1]. An external SSD delivers the best performance compared to relying on SD card storage alone [6].
Setting Up Your Chosen Media Server
The actual setup process needs some hands-on work. Our testing shows these steps will make the installation smooth and trouble-free when followed in order.
Operating System Installation
The process begins with installing Raspberry Pi OS through the official Raspberry Pi Imager. Our tests with multiple OS versions show Raspberry Pi OS Lite delivers optimal performance [7]. The installation starts when you connect your microSD card (minimum 8GB) to your computer and launch the imager [8]. The recommended configuration includes:
- SSH access for remote management
- Static IP address for consistent access
- Wireless network credentials (if using WiFi)
Software Installation Steps
The media server installation begins after your OS setup. Here’s the process:
- Update your system first:
sudo apt update
sudo apt upgrade
- Install required dependencies:
sudo apt install apt-transport-https
- Add the media server repository and install (we’ll use Plex as an example):
curl https://downloads.plex.tv/plex-keys/PlexSign.key | sudo apt-key add -
echo deb https://downloads.plex.tv/repo/deb public main | sudo tee /etc/apt/sources.list.d/plexmediaserver.list
sudo apt update
sudo apt install plexmediaserver
Original Configuration
The server needs configuration after installation. You can access the web interface at http://<your-pi-ip>:32400/web [9]. External storage setup is a vital part – connect your USB drive and mount it properly for media storage [5].
These steps will optimize performance:
- Setting up a fixed IP address ensures consistent access [8]
- Configuring port forwarding on your router (port 32400 for Plex)
- Creating proper media folders structure for different content types
The media folders need appropriate permissions to run smoothly [9]. Our experience shows that proper content organization at the start prevents hours of reorganizing later.
Managing Your Media Library
A properly structured media library forms the foundation of any successful home media server. Proper organization makes content easy to find and helps your media server software run smoothly.
Organizing Media Files
Your media needs a well-laid-out folder hierarchy. Centralizing multimedia files makes them available to multiple users and devices within your private network [10]. Here’s a proven folder structure:
| Content Type | Folder Format |
|---|---|
| Movies | Movie Name (Year) |
| TV Shows | Show Name/Season X/Show Name – SXXEXX |
| Music | Artist/Album/Track Number – Title |
Metadata Management
Good metadata management turns your library from a simple file collection into a Netflix-like experience. Your media server automatically syncs files and adds useful metadata like cover pictures and descriptions [10]. The best metadata matching requires:
- Consistent naming conventions
- Related content grouped in appropriate folders
- Filenames without special characters
Library Maintenance Tips
Experience shows several essential practices that keep a media library healthy. Regular maintenance keeps your server running smoothly and content stays organized. You should:
- Remove old and duplicated content regularly [11]
- Use short but meaningful file and folder names [11]
- Add dates in YYYYMMDD format to improve organization [11]
- Back up your library settings regularly
- Keep an eye on storage space and performance
USB 3.0 drives with external power provide reliable performance for external storage [12]. Large collections might need a NAS solution that offers centralized storage and simpler backup management.
Streaming and Remote Access
Your media server runs well on the local network, so let’s look at ways to stream content both locally and remotely. Our tests show that the right network setup is vital for reliable streaming.
Local Network Streaming
DLNA/UPnP gives you the easiest way to stream within your home network. Compatible devices can automatically find your media server [13]. Here’s what we suggest for the best streaming performance:
| Connection Type | Recommended For |
|---|---|
| Ethernet | 4K content, multiple streams |
| Wi-Fi 5GHz | 1080p content, single stream |
| Wi-Fi 2.4GHz | Music, photos |
Remote Access Setup
Plex provides the most efficient remote access setup with automatic port forwarding [14]. You can access your media from anywhere with these secure remote access steps:
- Enable remote access in your media server settings
- Configure port forwarding on your router (port 32400 for Plex) [15]
- Set up a static IP address for your Raspberry Pi
- Enable Quality of Service (QoS) on your router for smoother streaming [15]
Client Device Configuration
We tested streaming on devices of all types. Your media server works with:
- Smart TVs (direct DLNA support)
- Mobile devices (dedicated apps)
- Web browsers (for remote access)
- Gaming consoles [16]
Official apps give you the best streaming experience when they’re available. Our tests show that direct play works best since the Raspberry Pi 4’s transcoding capabilities are limited [17].
Conclusion
A Raspberry Pi 4 home media server provides a great alternative to costly streaming subscriptions and puts you in control of your media collection. Our tests show this budget-friendly solution streams reliably to all your devices. You can pick between Plex’s refined interface, Jellyfin’s free open-source platform, or Emby’s middle-ground approach.
Your media server’s quality depends on smart organization and consistent library upkeep. A well-laid-out folder system and proper metadata management create a streaming setup that matches commercial services. The Raspberry Pi 4 performs best when you pair it with the right storage solutions and network setup.
The best performance comes from our suggested hardware specs and configuration steps. Pick a 4GB RAM model, connect external USB 3.0 storage, and use a wired network connection whenever possible. These choices help ensure smooth playback and reliable remote access to your media.
This is where your streaming experience begins. You can build a custom streaming solution that fits your needs perfectly. Try different setups and organization methods until you find what works best in your home.
FAQs
Is a Raspberry Pi 4 suitable for running a home media server?
Yes, a Raspberry Pi 4 is an excellent choice for a home media server. It offers a good balance of performance, low power consumption, and affordability. With 4GB of RAM, it can handle most media serving tasks efficiently, especially when streaming 1080p content.
Can Plex run effectively on a Raspberry Pi 4?
Plex can run effectively on a Raspberry Pi 4, particularly for direct play streaming within your home network. It’s best suited for up to 4-5 simultaneous direct play streams. However, keep in mind that the Pi 4 has limited transcoding capabilities, so it’s ideal for pre-formatted media that doesn’t require conversion.
What’s the best operating system for a Raspberry Pi 4 media server?
Raspberry Pi OS Lite is recommended for optimal performance when setting up a media server. It’s lightweight and allows you to dedicate more resources to your media server software. Ubuntu Server is another good option, especially if you’re more familiar with Ubuntu-based systems.
How can I access my Raspberry Pi media server remotely?
To access your media server remotely, you’ll need to enable remote access in your media server settings, configure port forwarding on your router (typically port 32400 for Plex), set up a static IP address for your Raspberry Pi, and use a secure connection method. Many media server solutions offer built-in remote access features to simplify this process.
What are some tips for organizing media on a Raspberry Pi server?
For optimal organization, create a structured folder hierarchy (e.g., Movies, TV Shows, Music) with consistent naming conventions. Use proper metadata management for cover art and descriptions. Regularly maintain your library by deleting duplicates and old content, keeping file names short but meaningful, and including dates in YYYYMMDD format for better organization.
Not sure which media server software to choose? Read our in-depth comparison of OSMC vs LibreELEC: Which Media Server is Best to find the right solution for your needs.


[…] to set up your own media server? Check out our detailed guide on how to build a home media server with Raspberry Pi 4 for a step-by-step […]
[…] Also Read: How to Build a Home Media Server with Raspberry Pi 4: A Step-by-Step Guide […]