Table of Contents
Designing a custom phone stand using 3D printing technology is an exciting blend of creativity, technical skill, and functionality. This article serves as a detailed guide, covering essential considerations, tools, and techniques to help you create a unique and practical phone stand. Whether you’re a beginner or a seasoned designer, this guide will equip you with the knowledge to bring your ideas to life.
The Basics of Custom Phone Stand Design
Creating a custom phone stand begins with understanding its purpose and the features that make it practical and appealing. A phone stand is not just a holder; it’s an accessory that enhances user convenience and complements the aesthetic of the workspace or environment.
Key Design Considerations
- Functionality:
- Determine the primary use of the stand—is it for video calls, watching movies, or charging? This decision will influence the design’s angle, height, and stability.
- Compatibility:
- Ensure the stand accommodates a variety of phone sizes and models. Features like adjustable clamps or universal designs can enhance versatility.
- Aesthetic Appeal:
- Choose shapes, textures, and colors that match your personal style or that of the intended user. A visually appealing design adds value, especially for gifting purposes.
- Material Selection:
- The filament used in 3D printing matters significantly.
- PLA (Polylactic Acid): Ideal for beginners due to its ease of use.
- ABS (Acrylonitrile Butadiene Styrene): Offers greater durability but requires advanced printing setups.
- The filament used in 3D printing matters significantly.
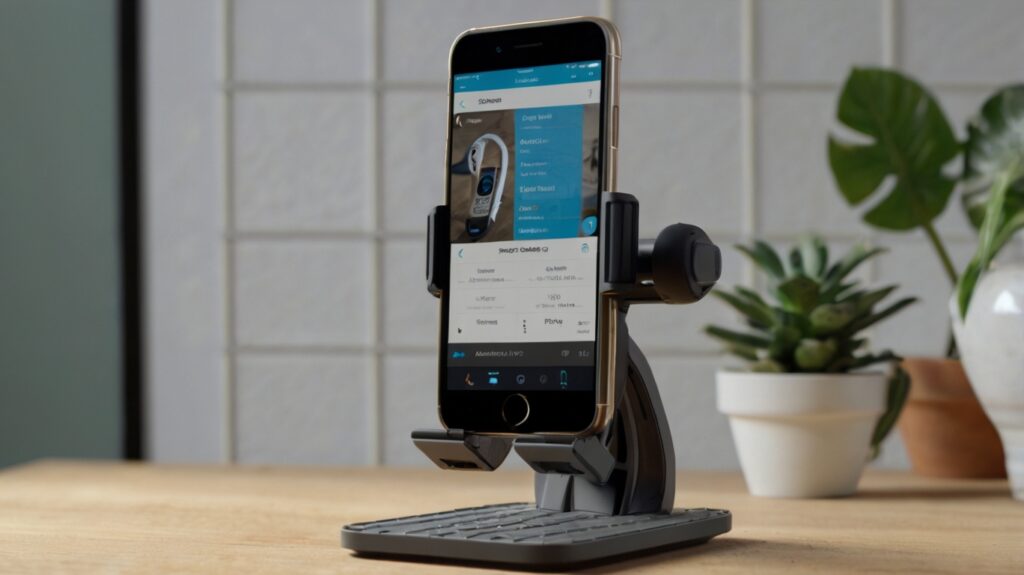
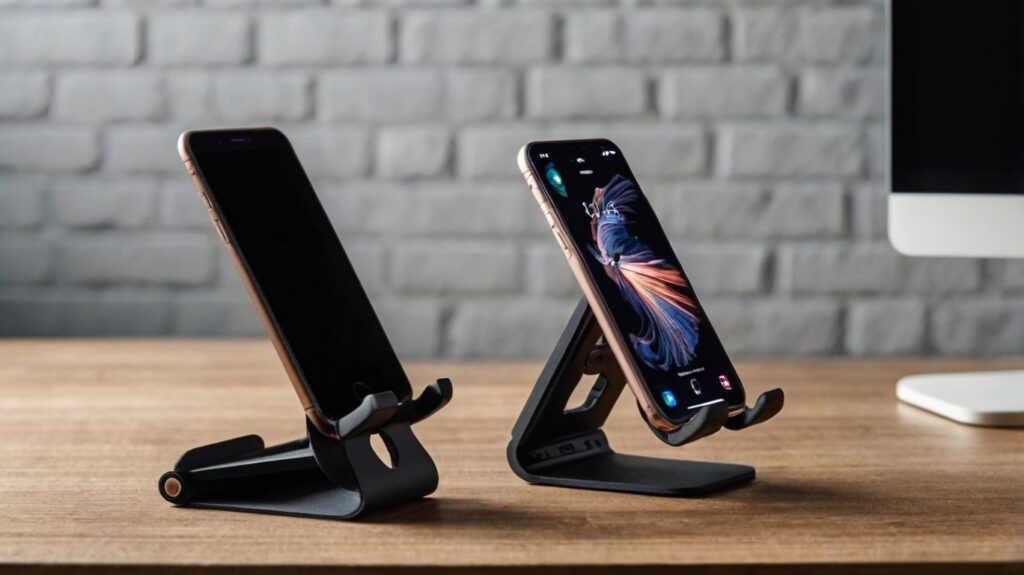
- Portability:
- If the stand needs to be portable, consider foldable or modular designs that are lightweight and compact.
Choosing the Right Software Tools
The foundation of any custom 3D design lies in the software used. Here are some popular options for designing a phone stand:
- Tinkercad:
- Best for beginners due to its intuitive drag-and-drop interface.
- Great for simple designs and quick iterations.
- Includes built-in tutorials and templates to help users get started quickly, making it ideal for educational purposes or hobby projects.
- It operates entirely in a web browser, eliminating the need for software installation and providing cross-platform compatibility.
- Fusion 360:
- Suitable for intermediate and advanced users looking for professional-grade features.
- Offers parametric modeling, which is excellent for precision and modifications.
- Features cloud-based collaboration tools, allowing teams to work on a design simultaneously from different locations.
- Includes simulation and analysis tools to test structural integrity, enhancing the design’s functionality and durability.
- Blender:
- Open-source software with powerful 3D modeling and rendering capabilities.
- Ideal for detailed and artistic designs but comes with a steeper learning curve.
- It is highly versatile and supports animation and sculpting, making it a favorite among designers looking to add unique, creative touches to their projects.
- Offers extensive community support and free resources, such as tutorials and add-ons, to expand its functionality and user accessibility.
Step-by-Step Design Process
1. Conceptualization
Begin by sketching your idea on paper or using a digital tool. This phase allows you to brainstorm the essential features of your design. Consider the following:
- Dimensions: How large does the stand need to be to accommodate a variety of phone sizes?
- Features: Decide whether you want additional elements like a cable organizer or wireless charging compatibility.
- Angles and Orientation: Think about optimal viewing angles for different use cases, such as video calls or media consumption.
2. 3D Modeling
Once you have a clear concept, move on to creating a digital model. This step involves:
- Software Familiarization: Spend some time exploring the features of your chosen 3D modeling software.
- Base Design: Start by designing a sturdy and balanced base to ensure stability.
- Support Structures: Add elements like grooves or backrests that will hold the phone securely.
- Customization: Incorporate unique elements such as engravings, decorative shapes, or modular components for adjustability.
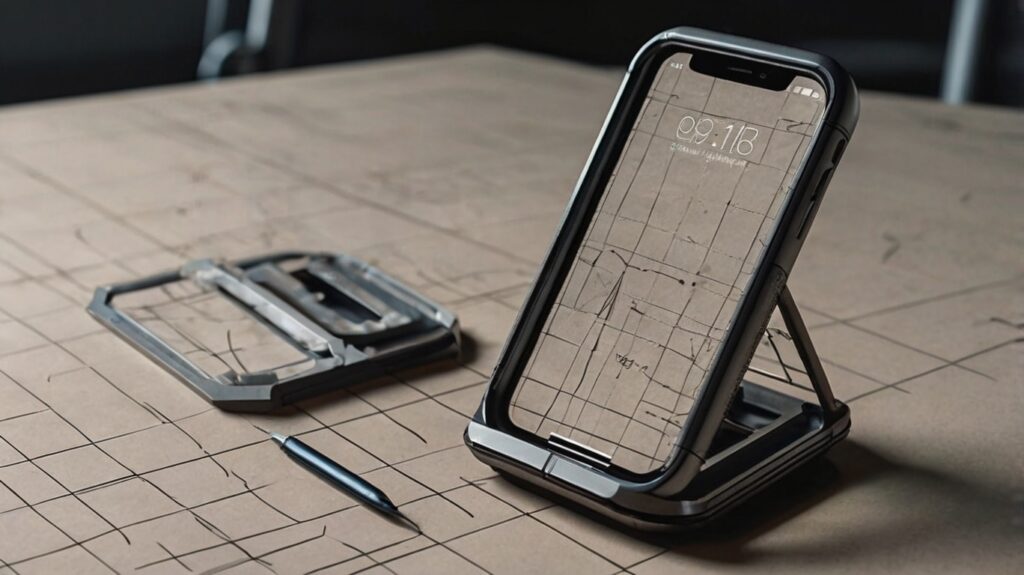
3. Prototyping
Prototyping is crucial to validate your design. Steps include:
- Test Prints: Print a small-scale version or key components of the design.
- Virtual Simulations: Use software tools to simulate stress tests and identify weak points.
- Feedback Collection: Share your prototype with others to gather usability feedback.
4. Refinement
Based on the prototype results, refine your design:
- Stability Enhancements: Adjust dimensions or weight distribution to improve balance.
- Aesthetic Adjustments: Modify shapes, textures, or colors for a more polished look.
- Functionality Upgrades: Incorporate additional features like adjustable angles or anti-slip pads.
5. Preparing for Printing
Before printing, finalize the digital model and optimize it for manufacturing:
- File Exporting: Save the model in a format compatible with slicing software, such as STL or OBJ.
- Slicing Settings: Configure settings for layer height, infill percentage, and support structures to ensure a successful print.
- Printer Calibration: Check that your 3D printer is calibrated correctly, including nozzle alignment and bed leveling.
6. Iterative Testing
Even after printing, continue testing and refining:
- Functional Tests: Use the stand with various phone models to ensure compatibility.
- Durability Assessments: Check for wear and tear under different usage scenarios.
- Final Adjustments: Make small changes to the design as needed, then reprint the improved version if necessary.
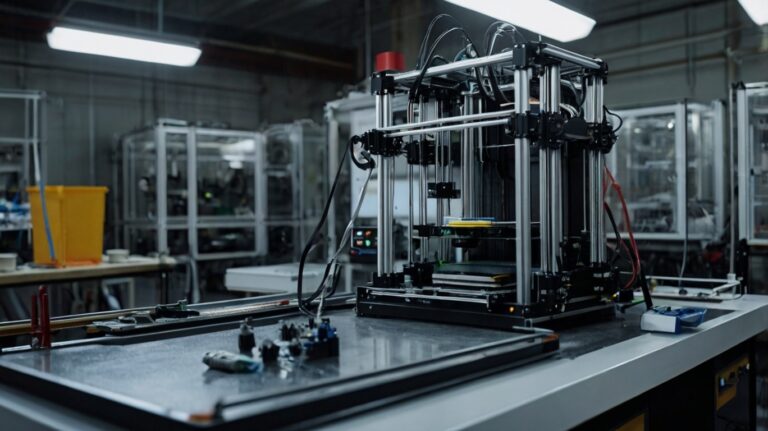
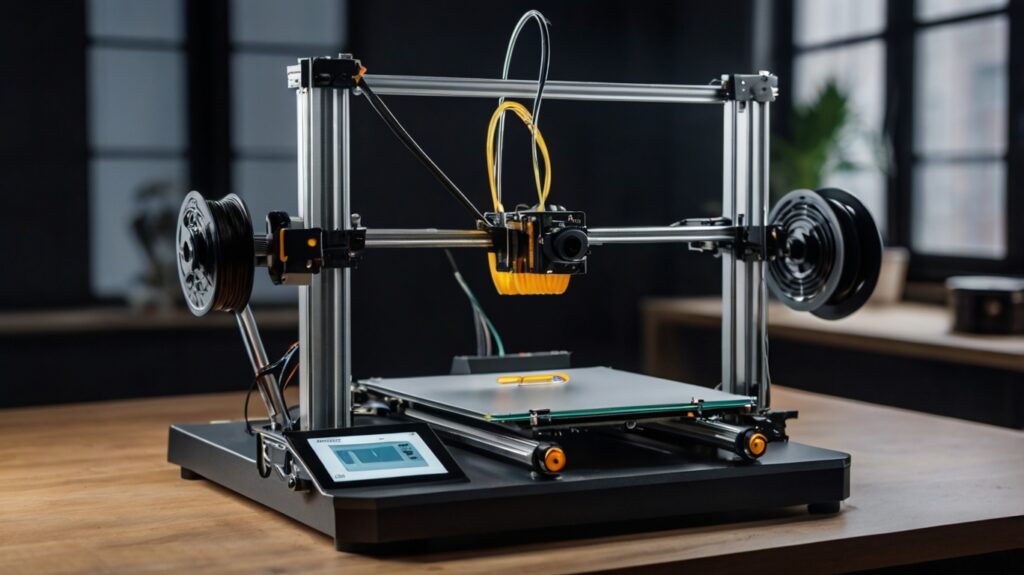
3D Printing Techniques and Tips
Printer Setup:
- Calibrate your 3D printer correctly to ensure precision.
- Check nozzle temperature and bed adhesion settings based on the filament used.
Slicing Configuration:
- Adjust settings in your slicing software:
- Layer Height: Affects surface smoothness and print time.
- Infill Density: Impacts strength and weight.
- Support Structures: Necessary for overhangs or complex features.
Monitoring and Troubleshooting:
- Monitor the printing process to avoid issues like warping or stringing.
- Address problems promptly to minimize material waste.
Post-Processing:
- Remove support structures carefully.
- Sand down rough edges for a polished look.
- Optionally, paint or coat the stand for enhanced aesthetics and durability.
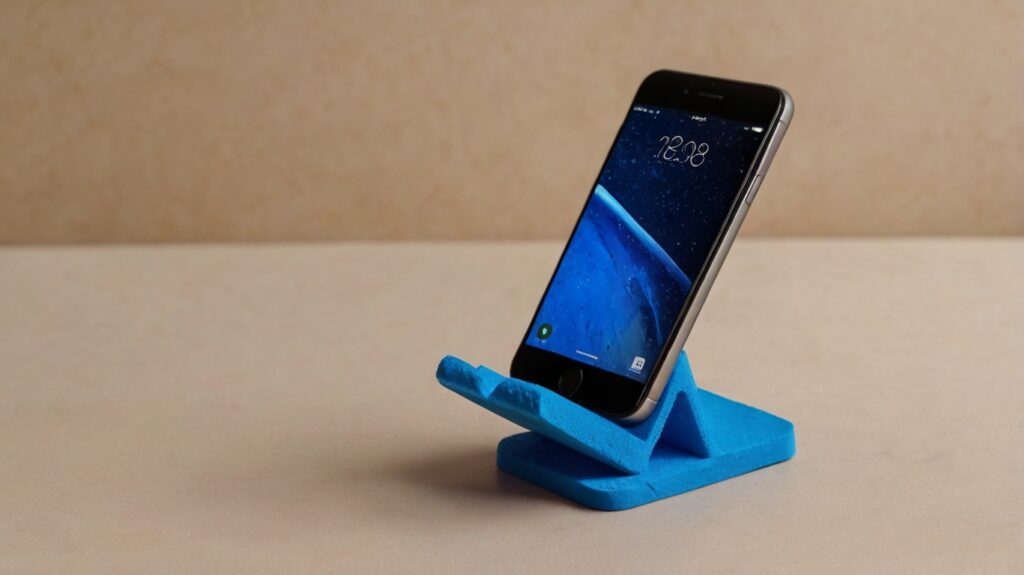
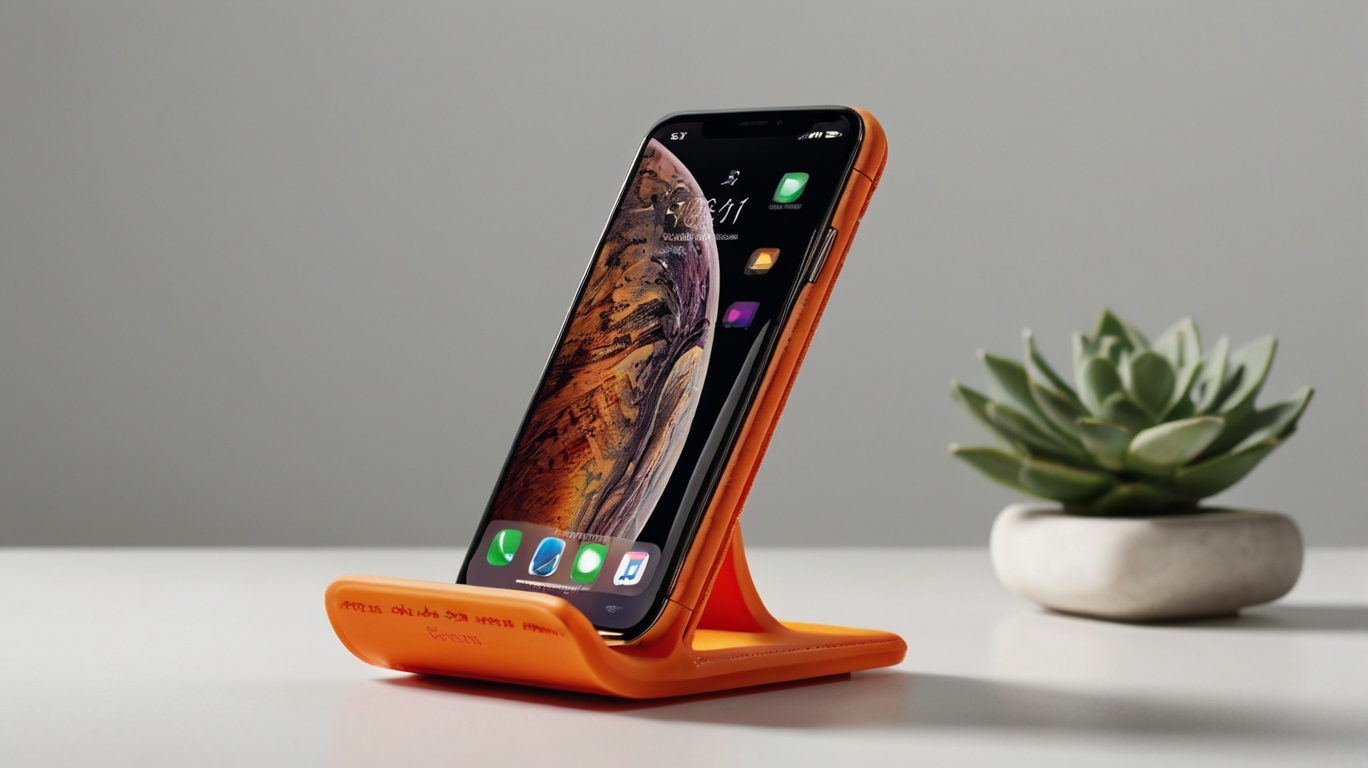
Case Study: Designing a Portable Foldable Phone Stand
Objective: Create a lightweight, foldable phone stand suitable for travel.
| Feature | Design Approach |
|---|---|
| Material | PLA for lightweight construction |
| Dimensions | Folded size: 100mm x 50mm; Unfolded height: 150mm |
| Adjustability | Hinges for angle adjustment |
| Stability | Non-slip pads on the base |
Outcome: The foldable stand was compact, durable, and versatile, making it ideal for users on the go.
Conclusion
Designing a custom phone stand using 3D printing combines innovation with practicality. By focusing on design considerations, using the right tools, and following a structured process, you can create a personalized accessory that stands out. Whether for personal use, gifting, or even starting a small business, custom phone stands are a testament to the possibilities of 3D printing.
FAQs
What is the best filament for beginners designing a phone stand?
PLA is recommended due to its ease of use and wide availability.
Can I design a phone stand without prior 3D modeling experience?
Yes, tools like Tinkercad are user-friendly and perfect for beginners.
How long does it take to print a phone stand?
Depending on the complexity, it can take 2-5 hours on average.
What should I do if my printed stand is unstable?
Recheck the base dimensions and weight distribution in your design.
Can I use 3D-printed phone stands for heavy devices like tablets?
Yes, but ensure the design and material are robust enough to support the weight.