3D printing has revolutionized manufacturing and hobbyist projects, offering endless possibilities for creating custom parts and prototypes. However, achieving flawless prints often requires overcoming a variety of challenges. This guide covers the most common 3D printing issues, their causes, and actionable solutions to ensure your prints turn out just the way you envision.
Table of Contents
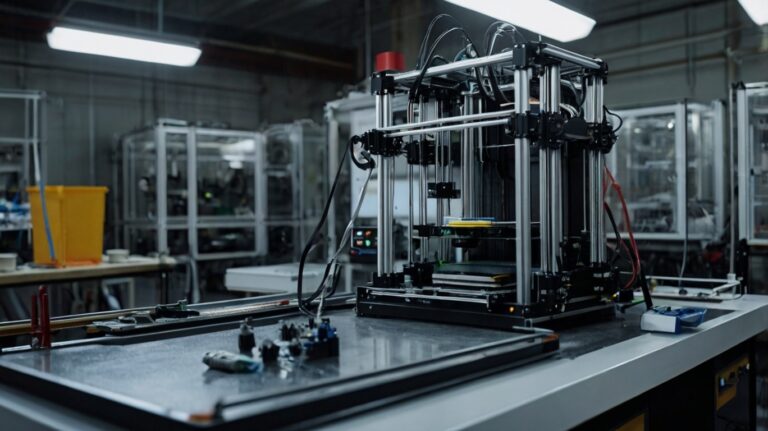
The Basics of 3D Printing
Before diving into troubleshooting, it’s essential to understand the components and processes involved in 3D printing. Most issues stem from incorrect settings, hardware malfunctions, or material inconsistencies. By familiarizing yourself with your printer’s mechanics, software, and the materials used, you’ll be better equipped to tackle problems efficiently.
Common 3D Printing Issues and Solutions
Inconsistent Extrusion
- Symptoms: Gaps in 3D Printing layers, uneven surfaces, or weak structures.
- Causes: Clogged nozzle, filament issues, or incorrect temperature settings.
- Solutions:
- Clean the nozzle using methods such as the Atomic Pull to clear blockages.
- Check the filament for tangles or damage and ensure it is feeding smoothly.
- Adjust the nozzle temperature based on the filament type (e.g., PLA, ABS).
Print Not Sticking to the Bed
- Symptoms: Prints lift off or detach during the process.
- Causes: Poor bed leveling, insufficient adhesion, or an unclean print bed.
- Solutions:
- Re-level the bed using a calibration sheet or auto-leveling feature.
- Apply adhesion aids such as glue stick, painter’s tape, or specialized printing surfaces.
- Ensure the print bed is clean and free of dust or grease.
Warping
- Symptoms: Corners of prints curling up or edges lifting off the bed.
- Causes: Rapid cooling, inadequate adhesion, or uneven temperatures.
- Solutions:
- Use an enclosed printer to maintain a consistent ambient temperature.
- Increase bed temperature when printing materials prone to warping, such as ABS.
- Add a brim or raft in your slicing software to anchor the print.
Stringing
- Symptoms: Thin strands of plastic connecting different sections of the print.
- Causes: Incorrect retraction settings or excessive nozzle temperature.
- Solutions:
- Increase retraction speed and distance in your slicer settings.
- Lower the print temperature to minimize oozing.
- Use a test model to fine-tune settings and eliminate stringing.
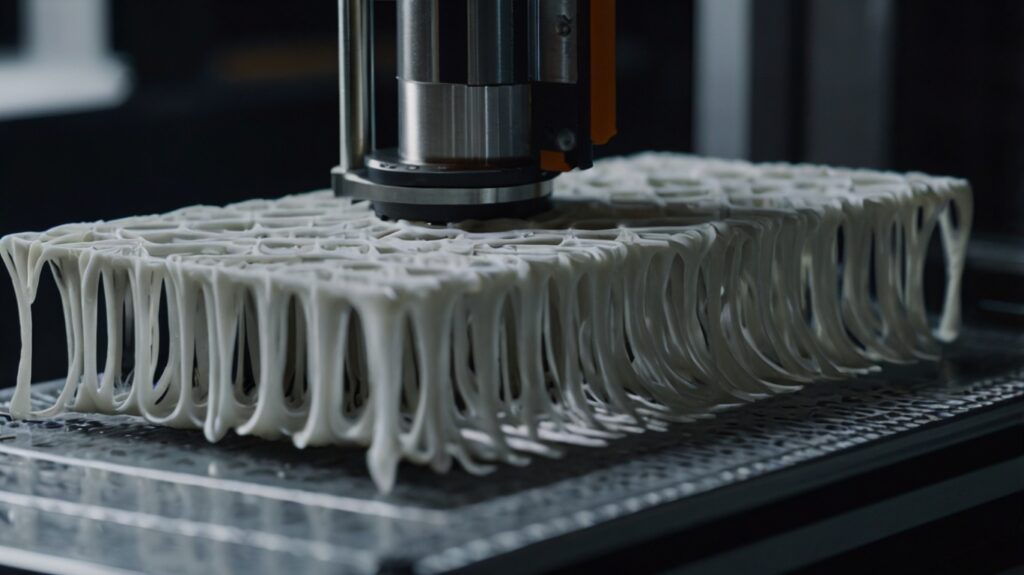
Layer Separation or Delamination
- Symptoms: Layers failing to bond, resulting in weak or splitting prints.
- Causes: Insufficient nozzle temperature or excessive cooling.
- Solutions:
- Increase nozzle temperature slightly to improve layer adhesion.
- Reduce cooling fan speed, especially for the first few layers.
- Ensure proper material storage to avoid moisture contamination, which can weaken layer bonds.
Shifting Layers
- Symptoms: Misaligned layers causing skewed or distorted prints.
- Causes: Loose belts, mechanical obstructions, or slicing errors.
- Solutions:
- Tighten belts and check the printer’s axis for smooth movement.
- Inspect for any physical obstructions around the print head.
- Reslice the model with updated slicing software to avoid data errors.
Clogged Nozzle
- Symptoms: Under-extrusion or complete extrusion failure.
- Causes: Residue build-up, incorrect temperature settings, or low-quality filament.
- Solutions:
- Clean the nozzle using heat and cleaning filament.
- Regularly inspect and replace the nozzle if blockages persist.
- Use high-quality, properly stored filament to reduce clogging risks.
Overheating or Melting Parts
- Symptoms: Deformed or drooping prints, especially in fine details.
- Causes: Insufficient cooling or high ambient temperatures.
- Solutions:
- Ensure the cooling fan is functional and directed at the print.
- Lower print speed or reduce layer height for better thermal management.
- Print in a well-ventilated environment or use materials suited for higher temperatures.
Proactive Maintenance Tips
Preventative care is key to minimizing 3D printing issues. Follow these maintenance tips to keep your 3D Printing printer in optimal condition:
- Regular Cleaning:
Clean the print bed, nozzle, and other components after every few prints to prevent residue build-up. Consider scheduling a deep cleaning session monthly to address hidden debris in hard-to-reach areas, which can accumulate over time and affect performance. - Lubricate Moving Parts:
Apply a suitable lubricant to the printer’s rails and gears to ensure smooth operation. Make it a habit to inspect the lubrication levels weekly and wipe away any excess that might attract dust or dirt. - Check for Loose Screws:
Tighten any loose screws or bolts to avoid mechanical instability. For best results, perform a full hardware inspection quarterly, ensuring that not only screws but also connectors and fasteners remain secure. - Inspect Belts and Gears:
Ensure belts are tensioned correctly and gears are free of wear and tear. Over time, belts can stretch, and gears may experience wear; replacing these parts as part of routine maintenance can prevent long-term issues. - Store Filament Properly:
Keep filament in a dry, airtight container with desiccants to prevent moisture absorption. For optimal preservation, invest in a filament storage box with built-in humidity control, especially if you live in a humid environment. Additionally, always check filament for brittleness before use to avoid unnecessary printing failures.
By adopting these practices, you’ll extend the life of your printer and maintain consistent print quality over time.
Optimizing Your 3D Printer Settings
Achieving high-quality prints often requires fine-tuning your 3D Printing’s settings. Consider the following adjustments:
- Layer Height:
Lowering the layer height can improve print detail but may increase printing time. For intricate models, reducing the layer height to 0.1mm or less can yield sharper details. However, for larger prototypes, a height of 0.2-0.3mm balances speed and quality effectively. - Print Speed:
Slower print speeds enhance accuracy and adhesion but prolong the printing process. A speed of 40-60mm/s is ideal for most filaments, though materials like TPU may require even slower speeds for optimal results. Testing various speeds can help you determine the sweet spot for your setup. - Infill Density:
Adjust infill percentage based on the part’s intended use (e.g., 20% for decorative items, 50%+ for functional parts). For structural components, honeycomb or grid patterns offer superior strength without excessive material use. Additionally, experimenting with variable infill densities can reduce weight while maintaining durability. - Nozzle Temperature:
Match the temperature to your filament’s specifications for optimal extrusion. Always consult the manufacturer’s guidelines, but don’t hesitate to tweak temperatures slightly during trial runs to optimize flow and adhesion. For advanced filaments, preheating the nozzle for an extended period may improve consistency. - Bed Temperature:
Set the bed temperature according to the filament type (e.g., PLA: 60°C, ABS: 100°C). A heated bed ensures better first-layer adhesion. If your printer supports it, consider using a bed-insulating material to retain heat more efficiently and improve print stability. Pairing the right temperature with adhesion aids can dramatically reduce print failures.
By experimenting with these settings and documenting your results, you can create a personalized profile for your printer and materials, significantly enhancing the overall quality and reliability of your prints.
Advanced Troubleshooting Tips
For persistent issues, consider these advanced solutions:
- Calibrate Your Printer:
Perform regular calibrations for the nozzle height, extruder, and axis alignment. In addition to basic calibration, use calibration tools like flow rate tests, overhang tests, and temperature towers to refine settings further. Ensuring precision at each step will prevent issues down the line. - Upgrade Components:
Invest in higher-quality nozzles, extruders, or build surfaces for better performance. Switching to hardened steel nozzles for abrasive filaments or upgrading to all-metal hotends can expand your material options and enhance print quality. Additionally, a PEI-coated or magnetic build surface can improve adhesion and simplify print removal. - Use Slicing Software Features:
Take advantage of features like supports, brims, and temperature towers to optimize prints. Advanced slicers often include customizable settings such as dynamic layer heights and variable infill patterns, allowing you to balance detail and strength while reducing material use. - Monitor Printing:
Keep an eye on the print process to catch and correct issues early. Consider installing a webcam or utilizing remote monitoring software to oversee long prints. Many modern printers support notifications for errors or progress updates, enabling prompt interventions. - Analyze Failed Prints:
Learn from failed attempts by examining the affected areas closely. Use diagnostic tools to assess issues such as under-extrusion, layer shifts, or warping, and adjust settings or hardware accordingly. Documenting these adjustments helps refine your process for future prints. - Experiment with New Techniques:
Stay up-to-date with industry trends and try advanced techniques like multi-material printing, using adaptive slicing, or incorporating soluble supports for complex geometries. These methods can push the boundaries of your 3D printing projects and deliver professional-grade results.
By adopting these advanced strategies, you can troubleshoot even the most stubborn 3D printing problems and elevate the quality of your creations.
Conclusion
3D printing can be a challenging yet incredibly rewarding process. By understanding common issues and implementing the solutions outlined in this guide, you can achieve consistent, high-quality results. Regular maintenance, careful calibration, and an awareness of material properties are crucial for long-term success. With patience and practice, you’ll master the art of 3D printing and unlock its full potential.
FAQs
What should I do if my 3D print doesn’t stick to the bed?
Ensure the bed is level and clean. Use adhesion aids like a glue stick or painter’s tape. Adjust the bed temperature according to your filament type and consider adding a brim or raft in your slicing software.
How can I fix inconsistent extrusion during printing?
Check for a clogged nozzle and clean it using methods like the Atomic Pull. Ensure the filament is feeding smoothly, and adjust the nozzle temperature based on the filament specifications.
Why do my prints warp, and how can I prevent it?
Warping is often caused by rapid cooling or poor bed adhesion. Use an enclosed printer to maintain a stable temperature, increase the bed temperature, and use a brim or raft for better adhesion.
What causes layer separation or delamination in 3D prints?
This issue usually stems from insufficient nozzle temperature or excessive cooling. Increase the nozzle temperature slightly, reduce fan speed, and store filament properly to prevent moisture contamination.
How can I improve the quality of my 3D prints?
Regularly calibrate your printer, optimize settings like layer height and print speed, and experiment with advanced slicer features such as dynamic layer heights. Regular maintenance, like cleaning the nozzle and tightening belts, also ensures consistent print quality.
Also Read : “Affordable 3D Printing: The Best Budget 3D Printers of 2025”